


Hi there fellow modders,
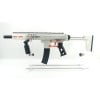
You guys have been asking us many times to do a guide of the Shanye Cheetah Pump Grip Conversion kit for a while now, and finally we have managed to get the time in between to do the blog guide of the conversion kit. However, the new unit has some changes done to the kit, but the whole thing is still the same.
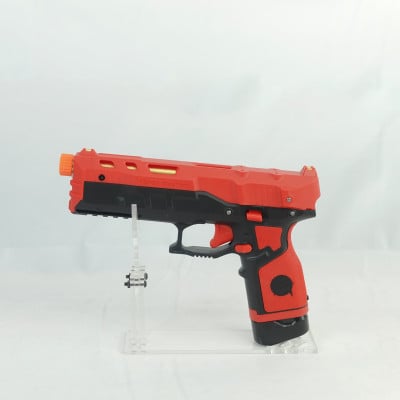
Just to remind you guys again that this conversion kit is made a PERMANENT modification on your Worker Cheetah 2.0 blaster unit.
THIS UNIT IS NOT RECOMMENDED FOR BEGINNER MODDERS!!
Step 1: Open up your Cheetah 2.0 blaster and remove the internals, leaving the blaster shell.
Step 2: Using a power tool, you have to cut and sand down the ribbing and part of the internal shell to accommodate the pump grip system into the shell. Do this on the other side of the shell as well. (Sadly we have only one side of the cheetah shell in our tester unit to showcase this)
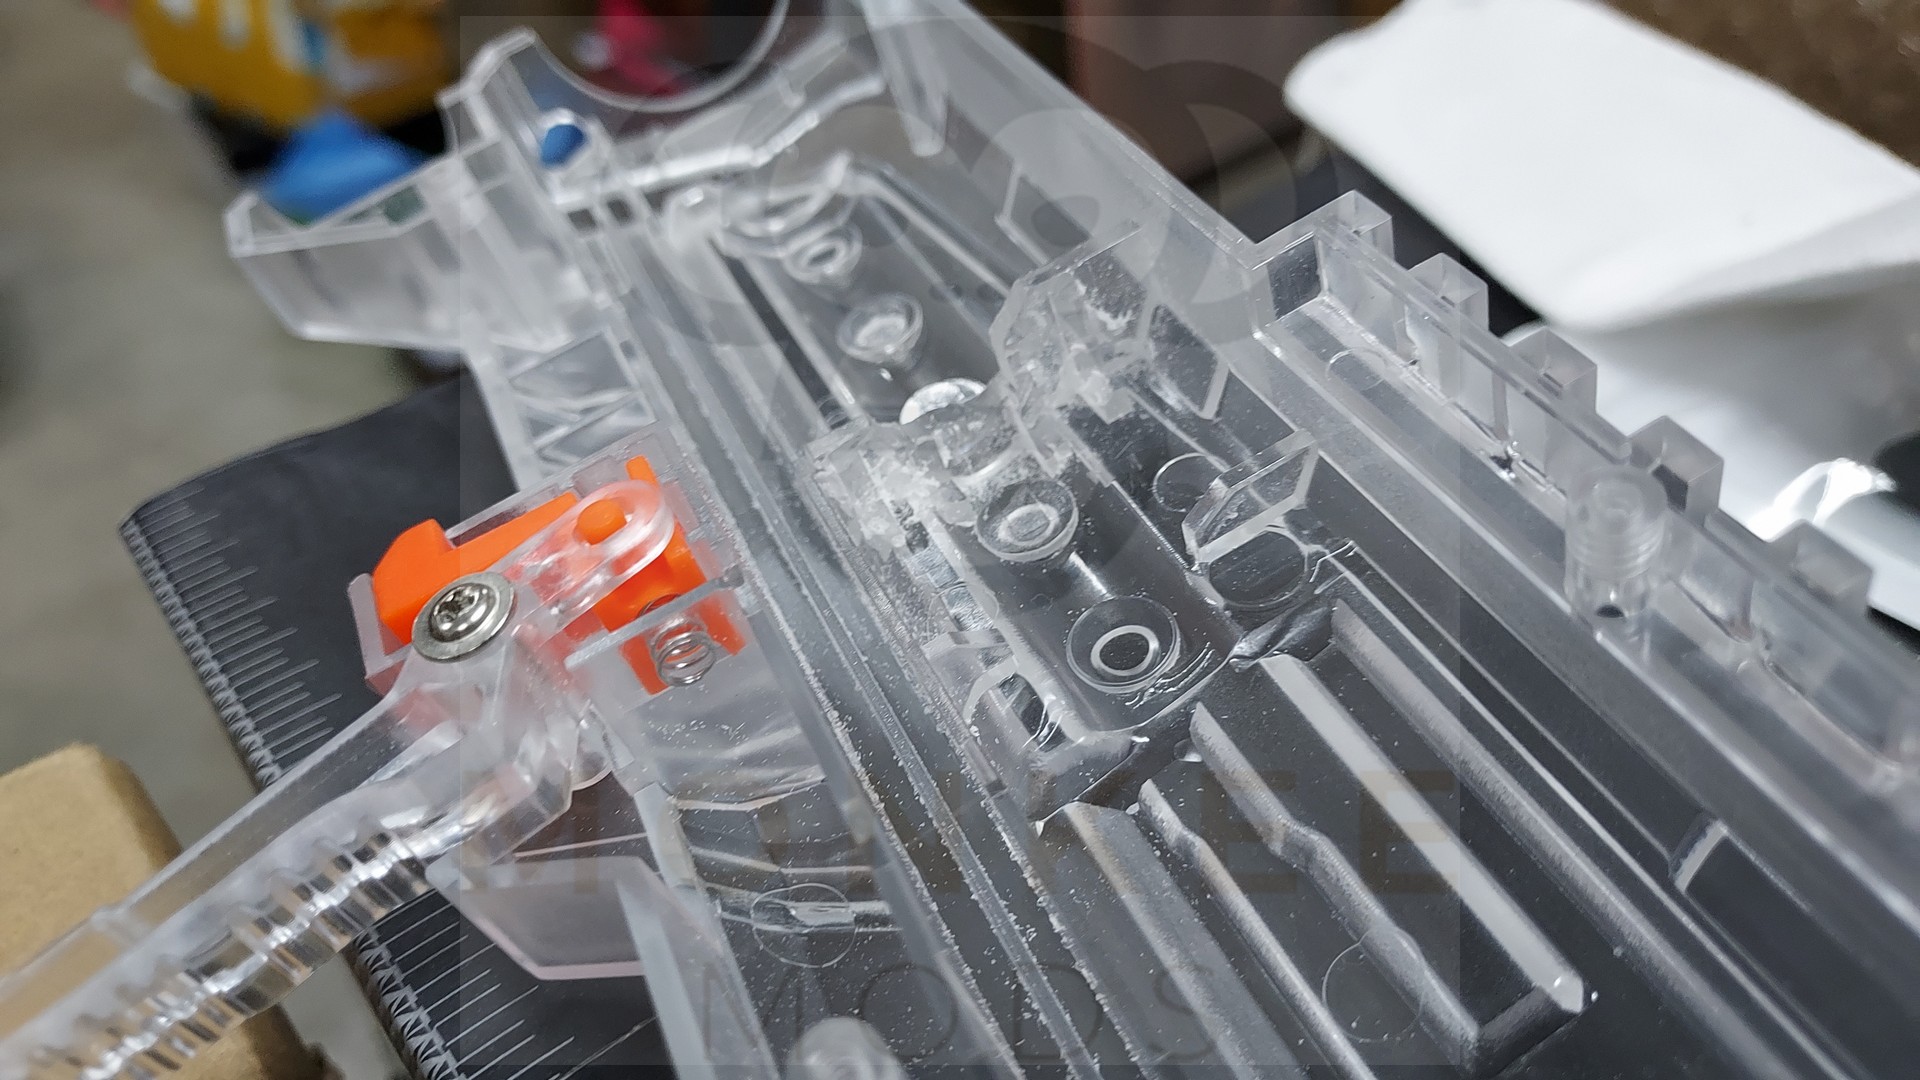
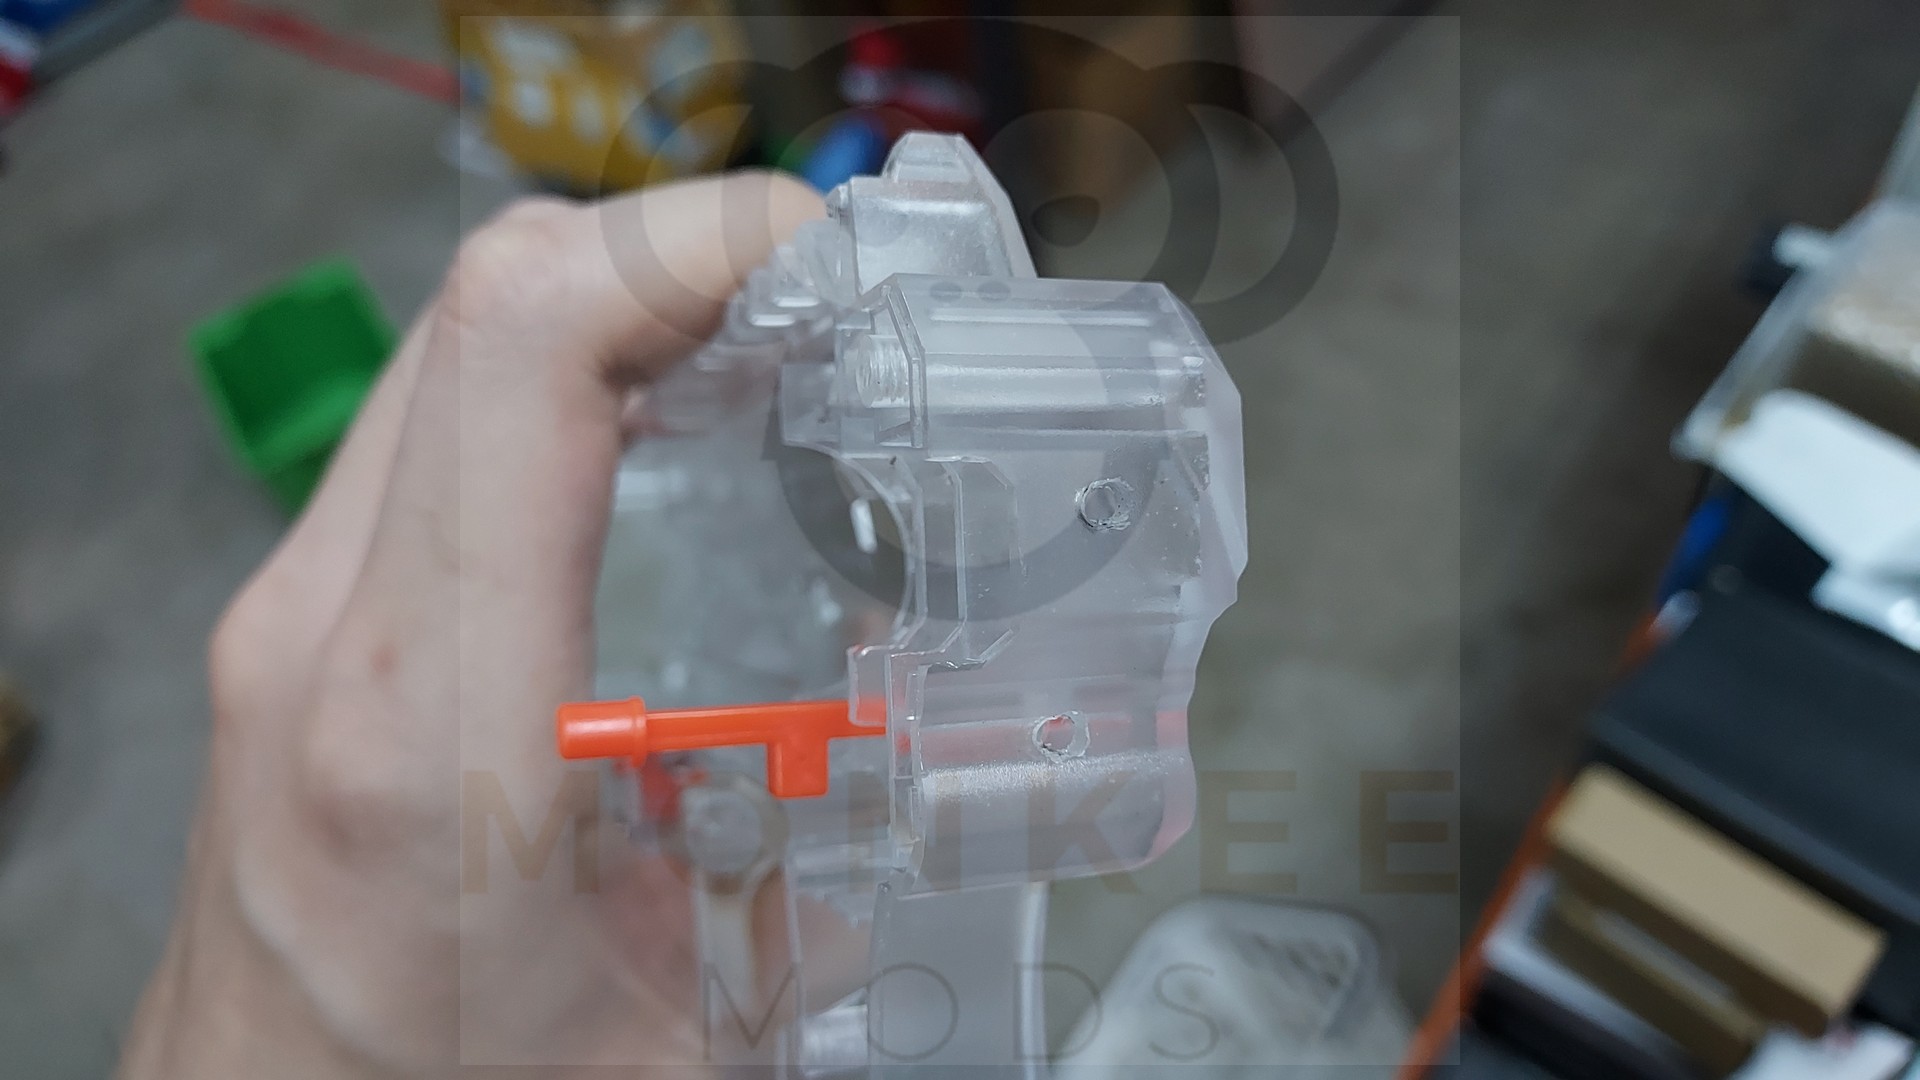
Step 3: Cut off the priming hook bar of the original Cheetah 2.0 unit. Cut off at about the ring hook primer as shown in Figure 1. BE CAREFUL WHEN CUTTING. IF TOO MUCH IS CUT IT MIGHT NOT BE ABLE TO PRIME PROPERLY. Place the shock padding onto the flat plate of the plunger rod/bar as shown in Figure 2.
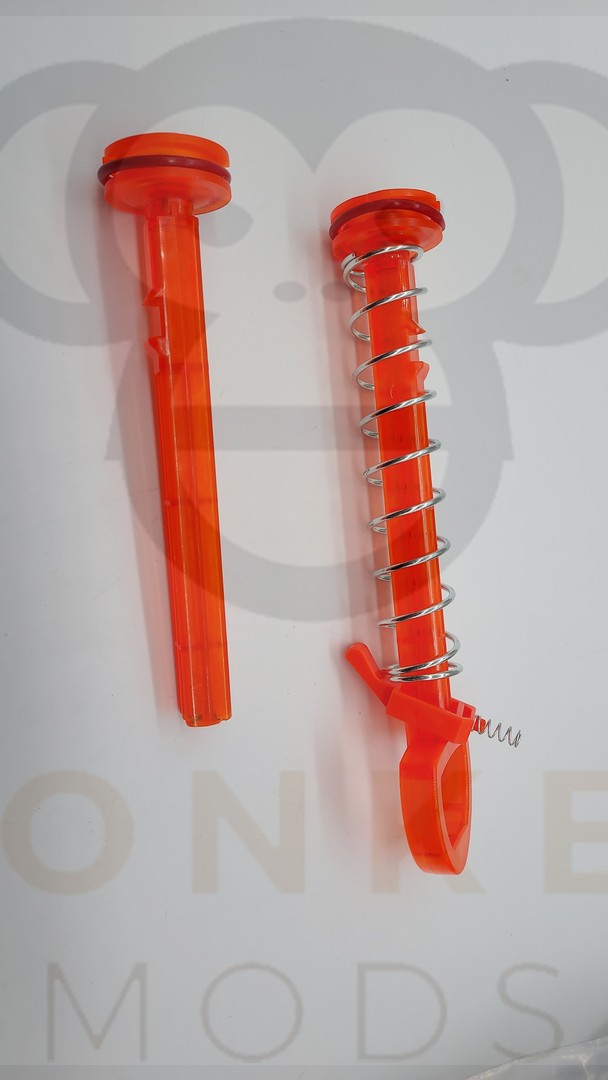
Figure 1

Figure 2
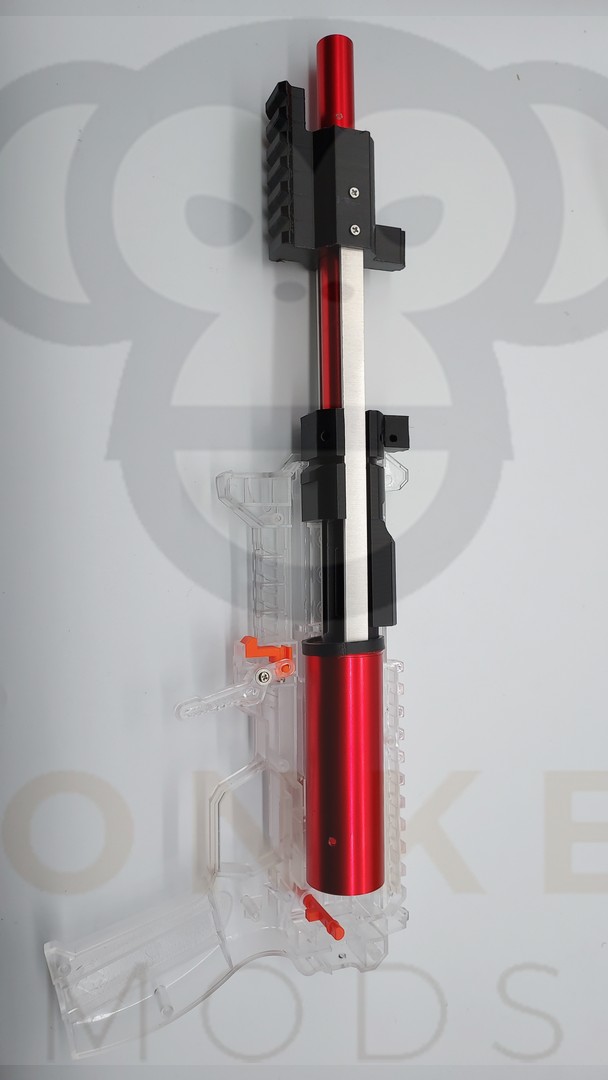
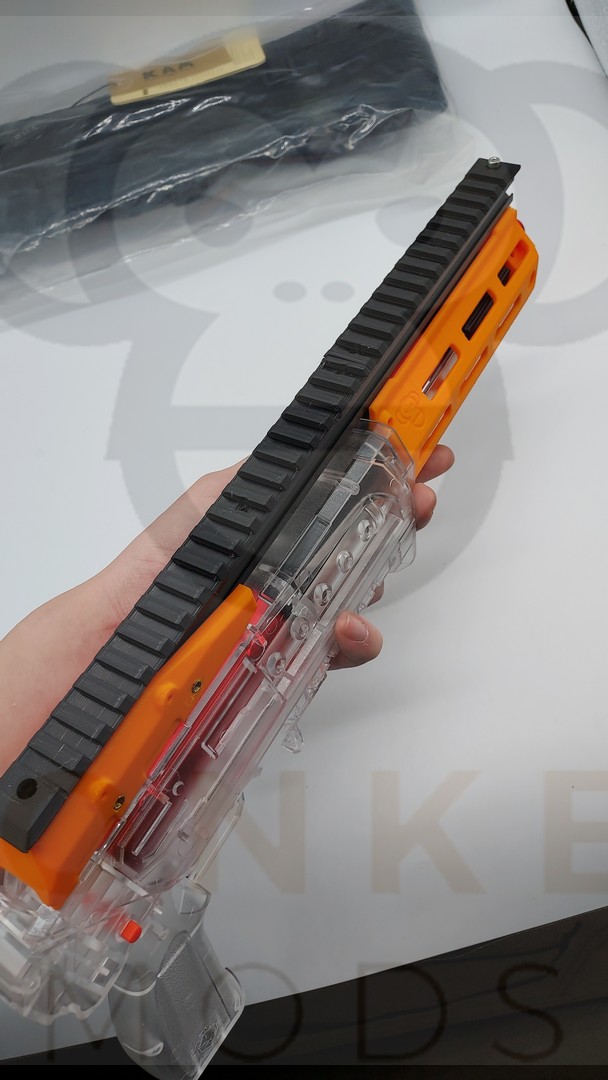
Step 4: Install the Ring onto the threaded side of the plunger tube, then install the pump grip system inside.
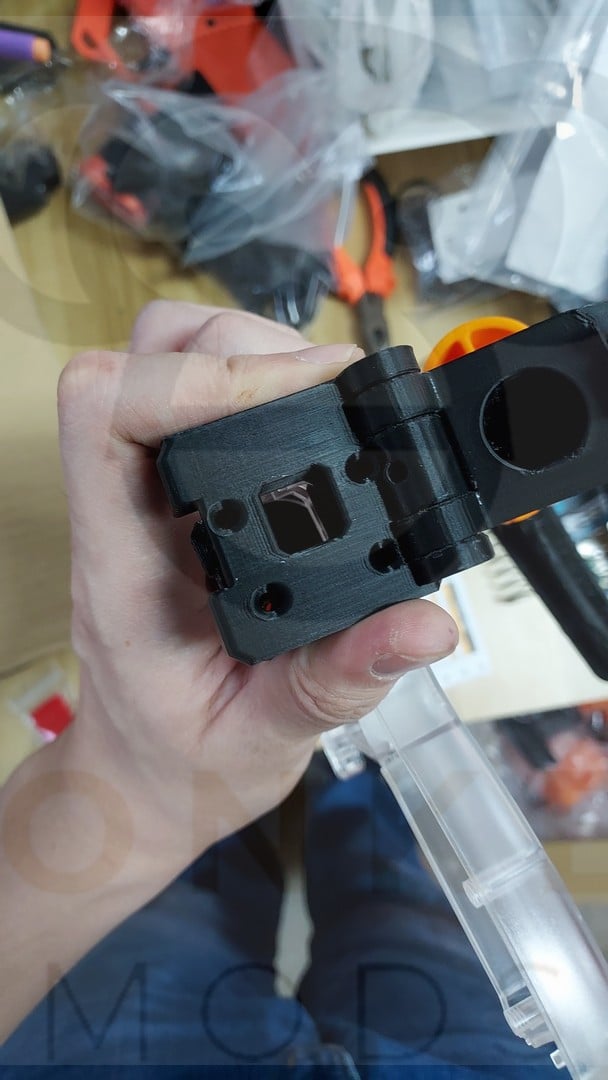
Step 5: Place the Buttstock holder into the small space cut-out in the Cheetah 2.0 blaster shell, and secure the receiver shell.
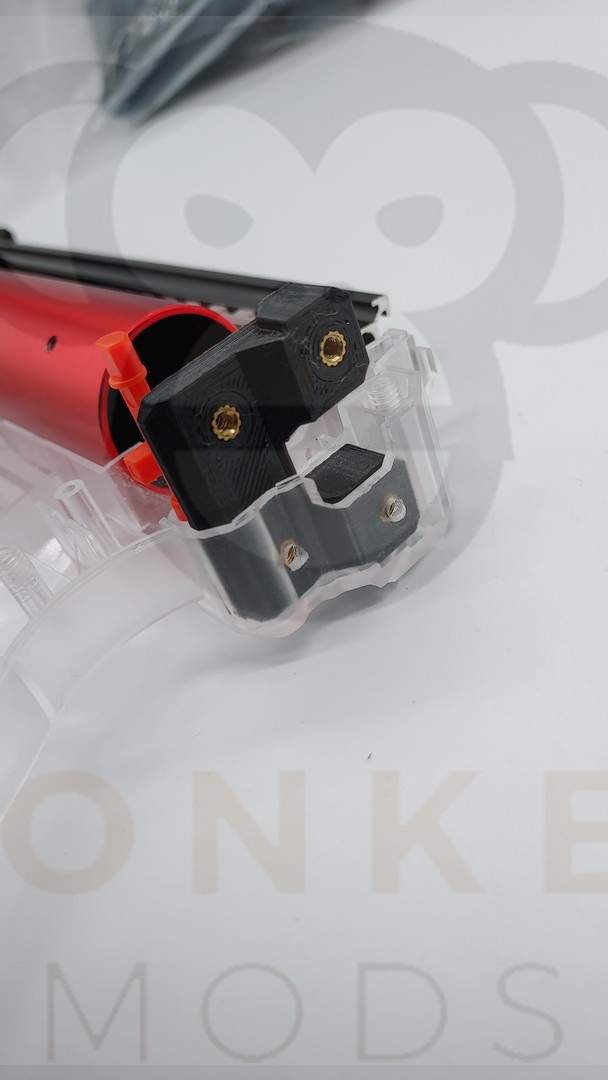
Step 6: With the buttstock holder in place, Drill the holes for the screws to go in for the foldable buttstock unit.
Step 7: Place the original barrel from the Cheetah 2.0 into the new pump grip system that is just installed, based on the picture of step 4. With that secured, place the new handguard unit in and secure it with the screw provided with the handguard unit.
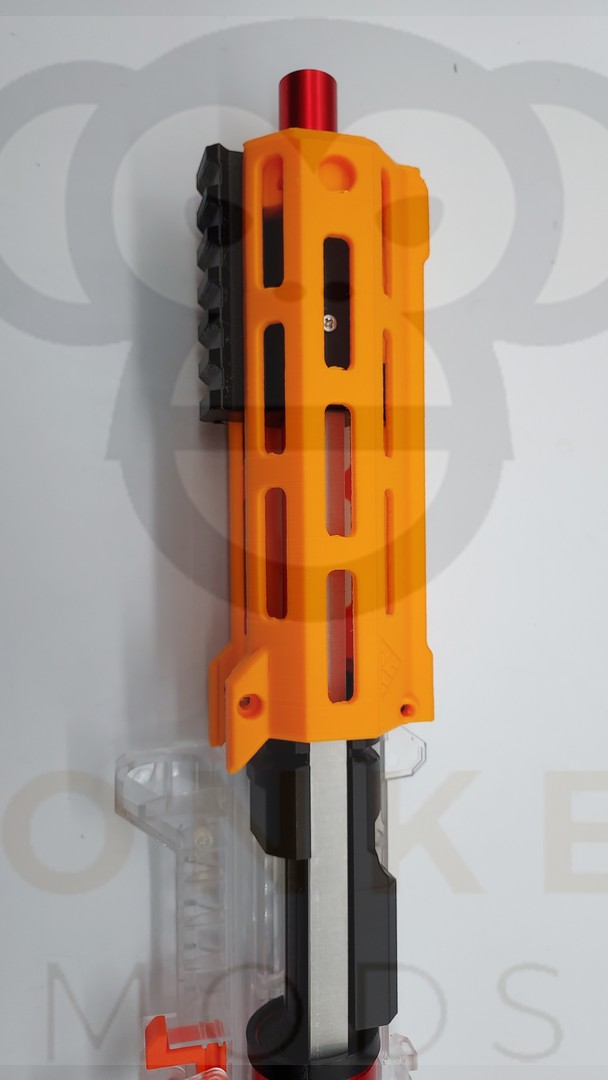
Step 8: Close the Cheetah 2.0 blaster shell and place the Top rail holder unit onto your Cheetah 2.0 unit. MAKE SURE the holes are aligned on the screw holes of the handguard and part of the pump grip system when placing the top rail holder and screw the front part of the top rail holder unit.
Step 9: The front top rail is placed next. Please place the screw holders one at a time to ensure the alignment of the screws are correct. (You can use plasticine/wadding to make sure the screw holder doesn't move out of place.)
Step 10: Secure the top rail holder unit down with the second provided screw and secure down the front top rail.
Step 11: Complete the top rail unit with the second/rear rail unit. and cover the holder with the cover based on the picture of step 9.
Step 12: Complete your conversion kit unit screwing in the buttstock unit.
PLEASE ensure the kit is built properly and test the movement of the pump grip system to make sure that it is smooth. Once everything is smooth and secure, blast your foam darts away with your modified Cheetah Kit
Leave a Comment