


Hey Modders,
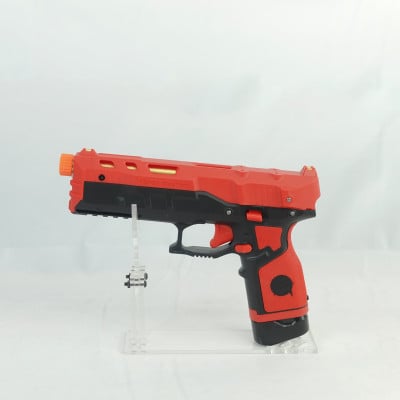
Here's the guide to install the S200 Carbine kit to your preferred ZWQ S200 unit. Just note that the carbine kit will give the ZWQ S200 Fire Rat blaster a significant weight increase.
When you have purchased your selected carbine kit, it should come with the said item in each kit.
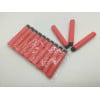
S200 Basic Carbine Kit: A pair of priming bar pin replacement with screws, and 5 different L-end key units of varying sizes.
S200 Complete Blaster Kit: A pair of priming bar pin replacement with screws, an extra hex head screw unit, extra bolt holder and 5 different L-end key units of varying sizes
The build guide for the S200 carbine kit complements each other. Firstly, we will start with the basic carbine kit build.
S200 Basic Carbine Kit Installation Guide
1. From your purchased S200 unit remove the pins that hold your priming bar unit. Please leave the back piece on your S200(NOTE!!: Do NOT throw them away. Please keep them aside if you wish to revert your S200 unit to the original look)
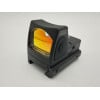
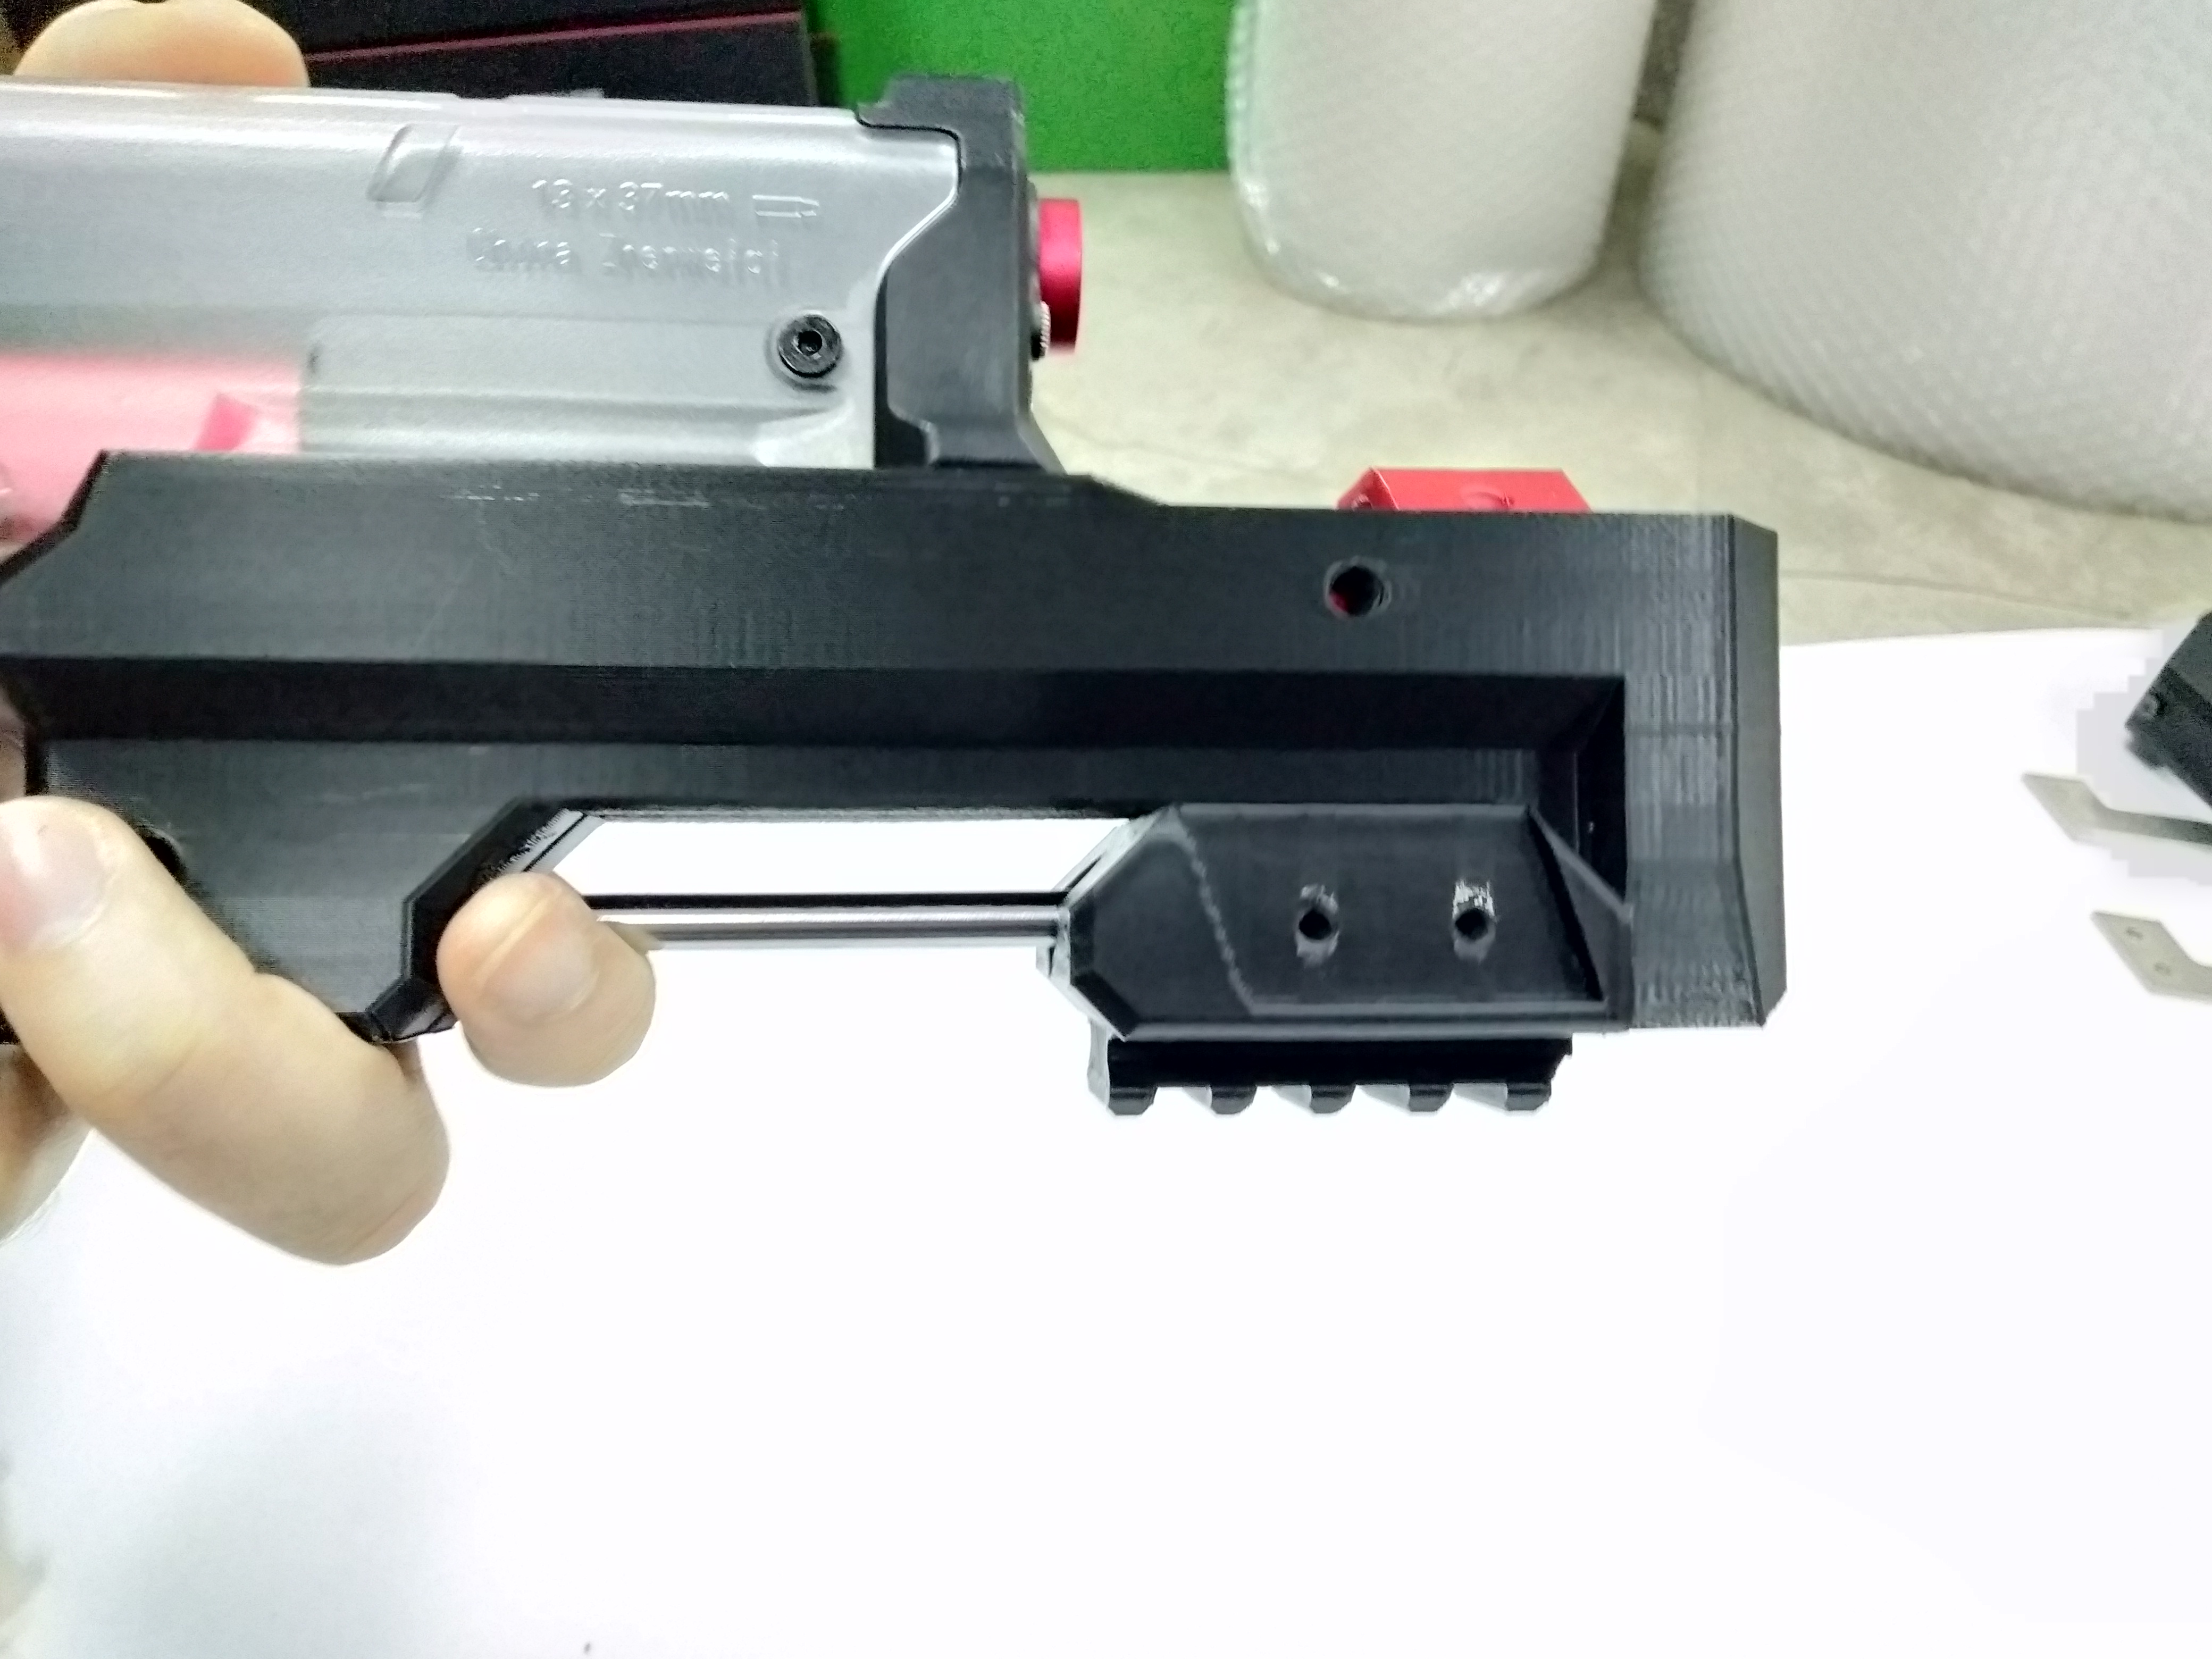
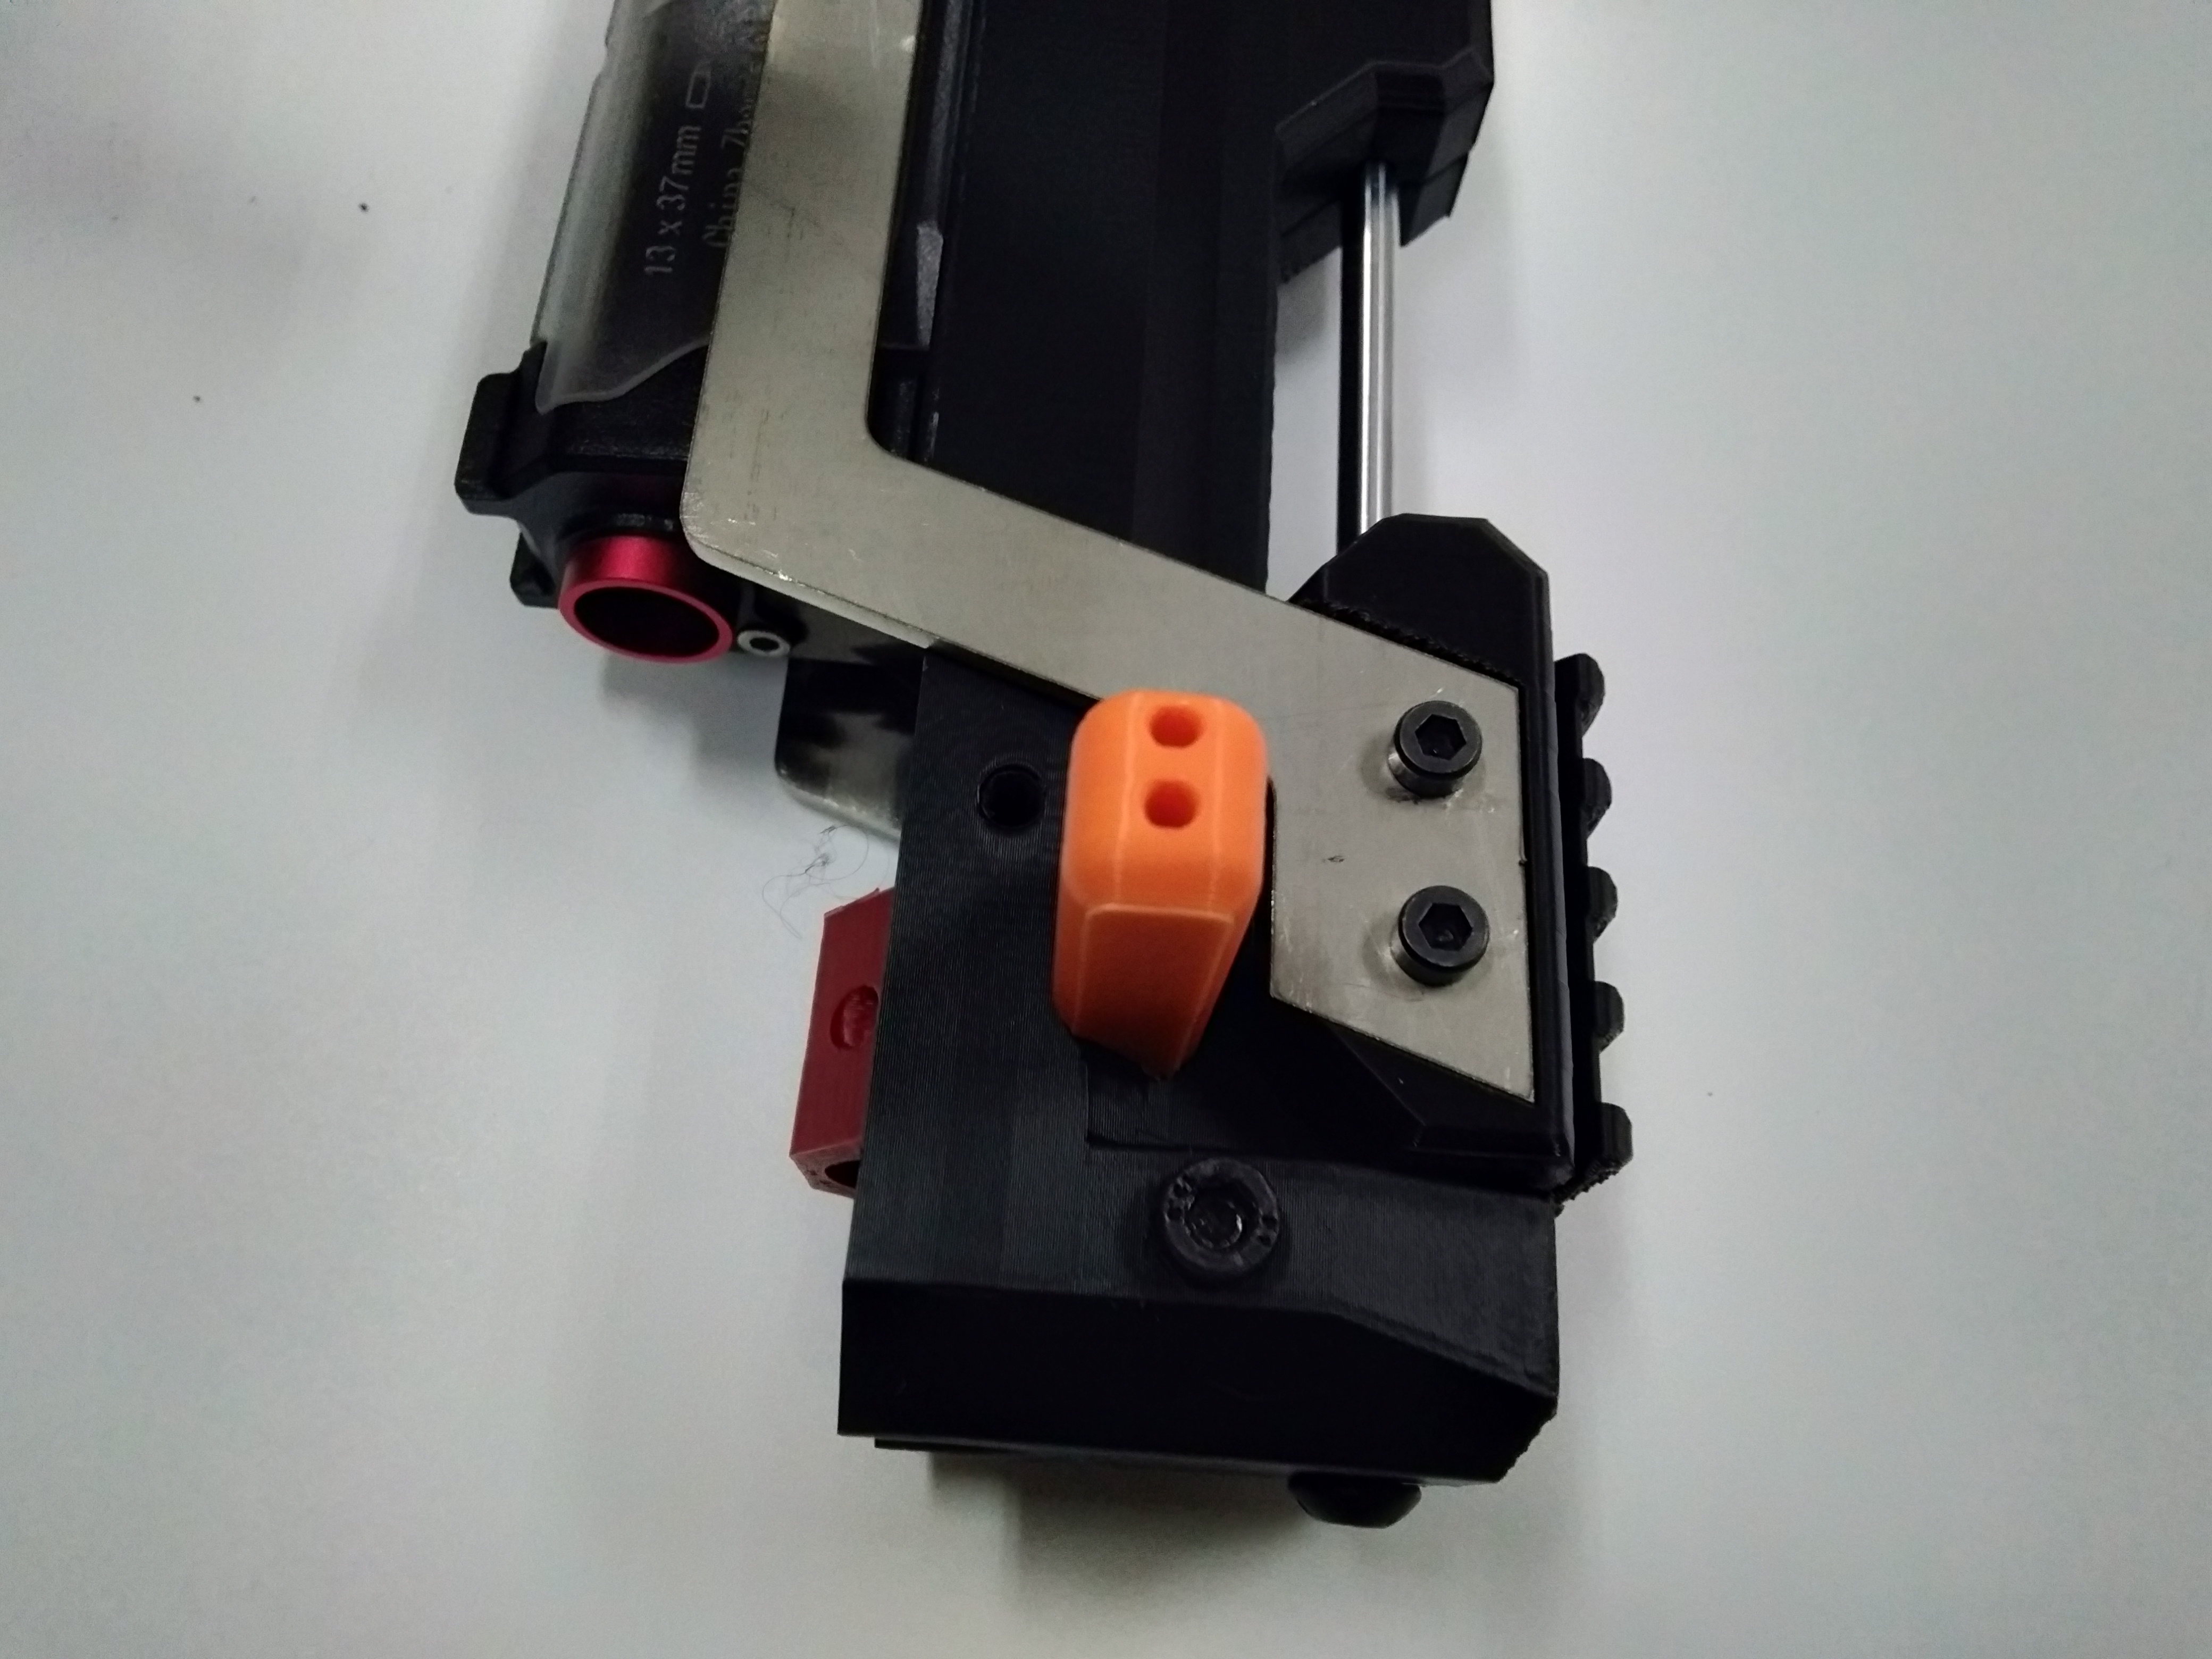
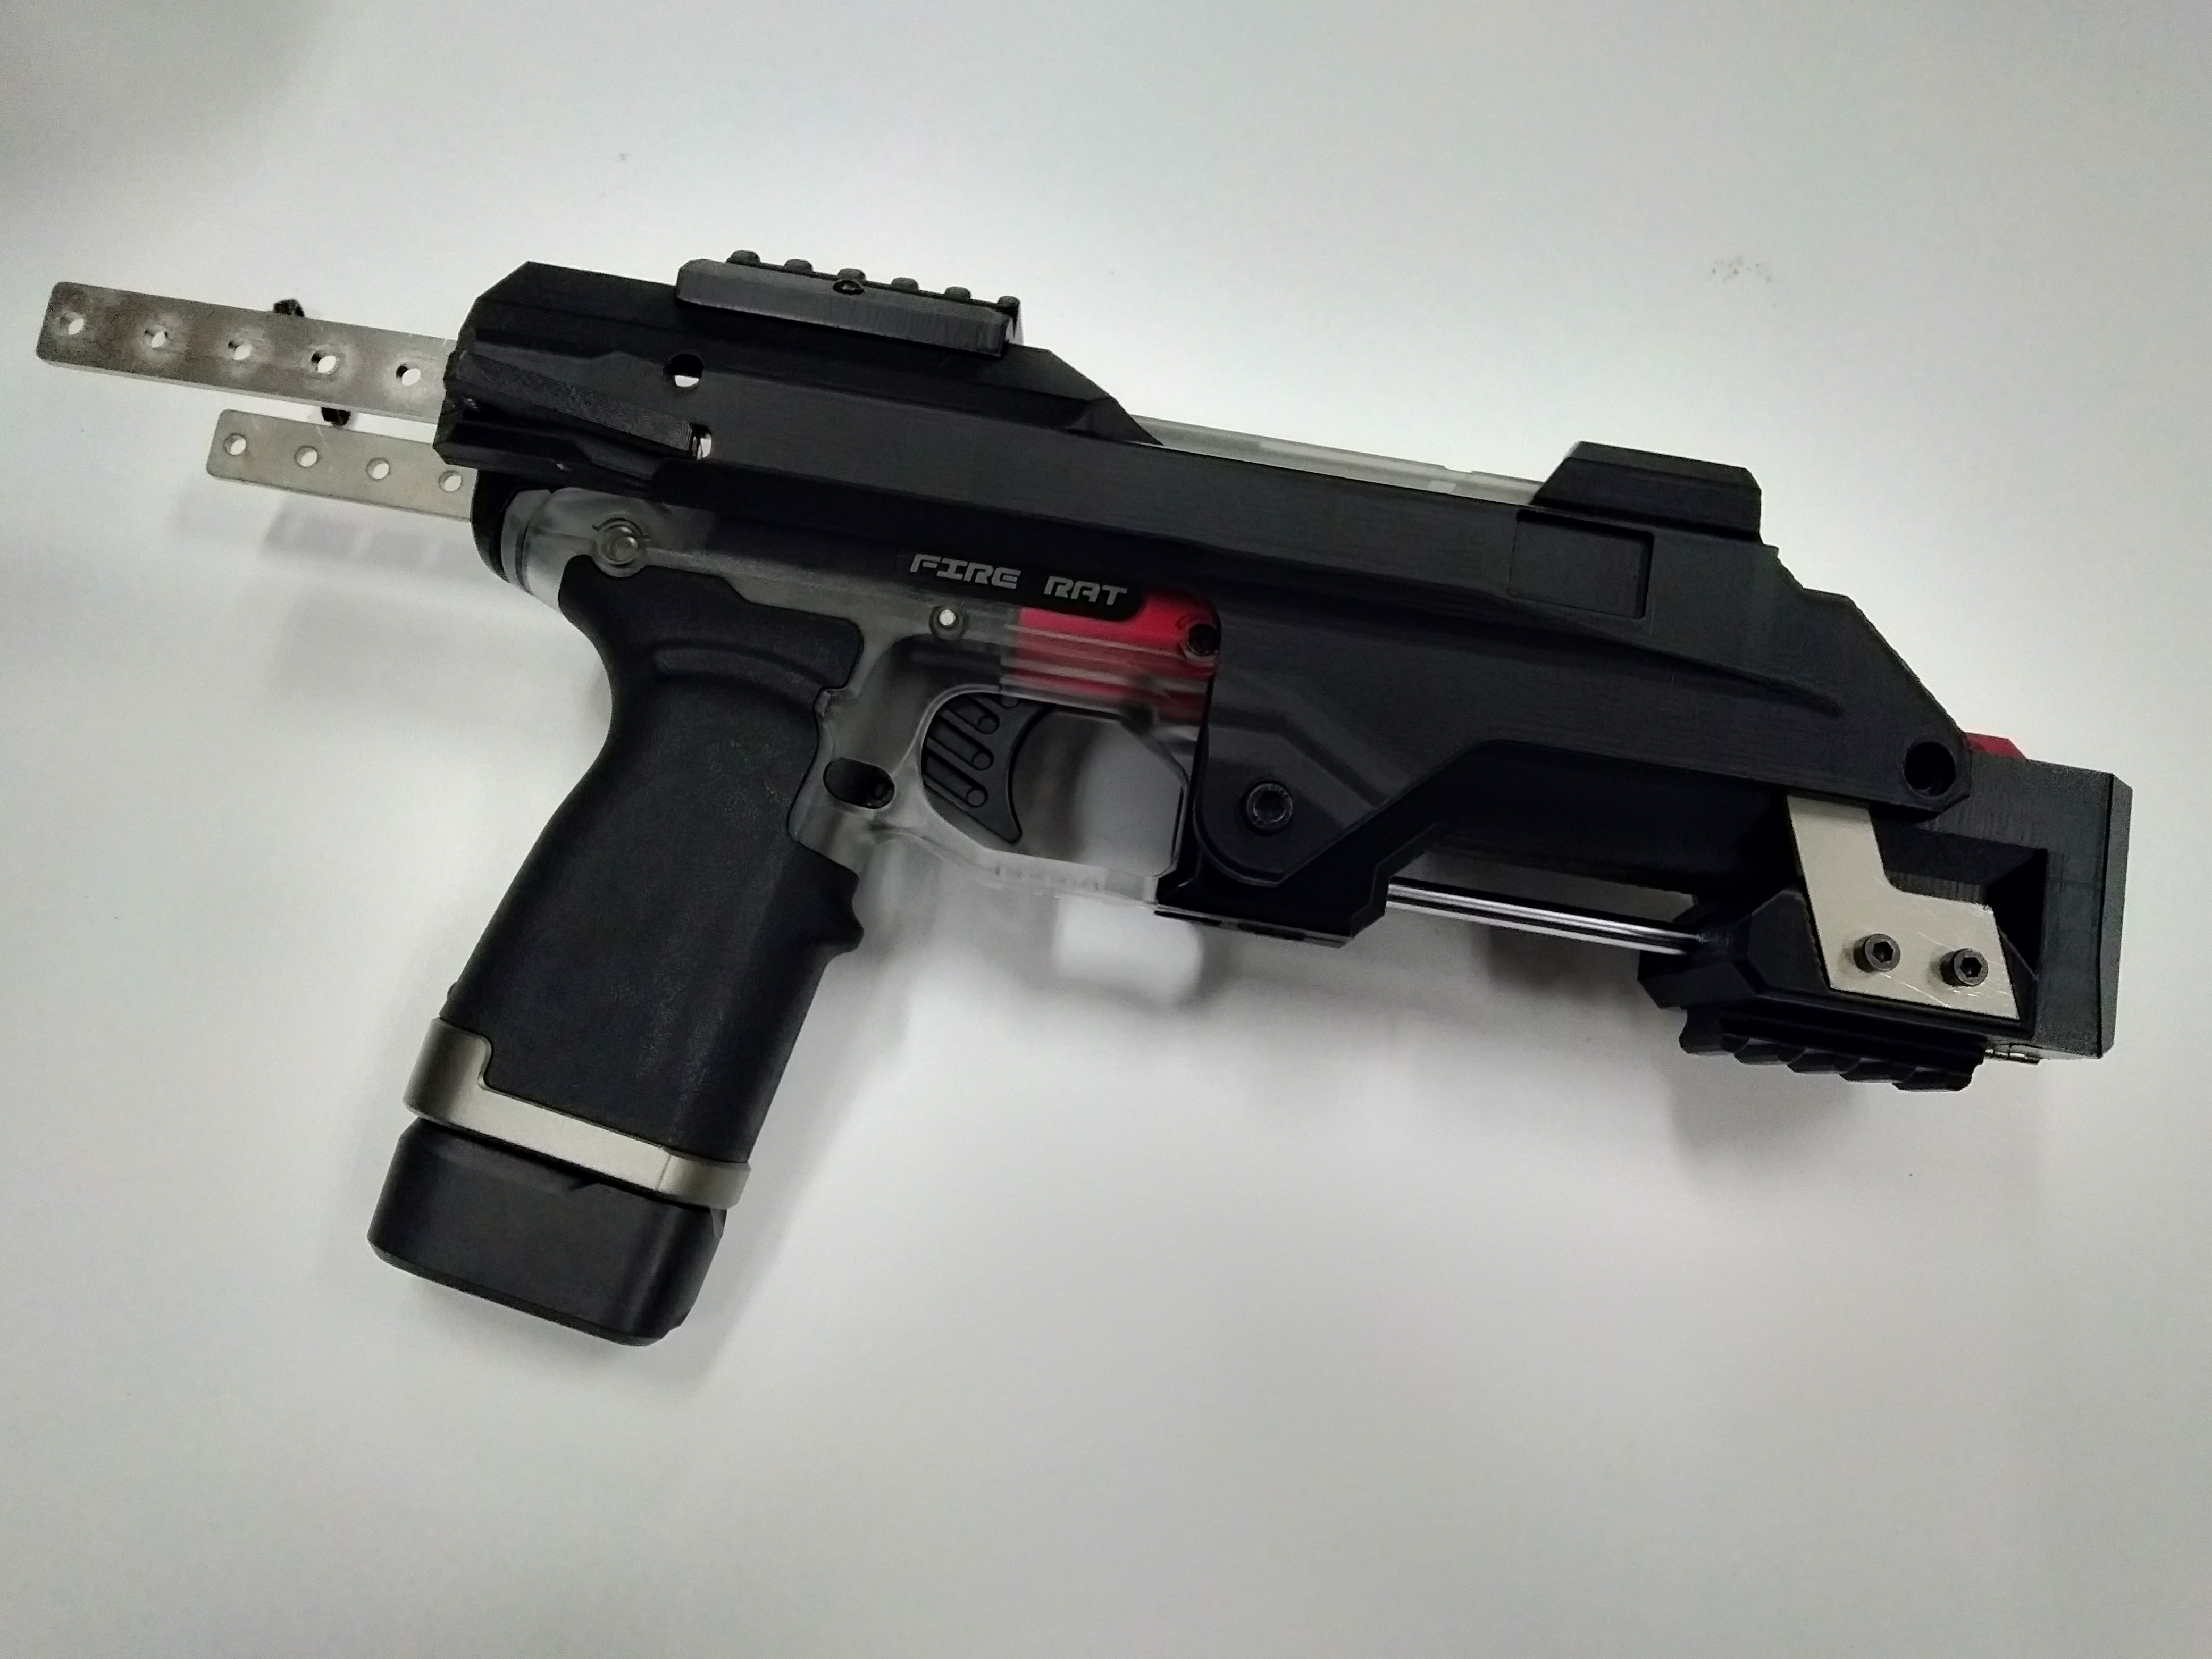
2. Place the Main bodykit of the carbine unit as shown in the picture below. Remove the 2 hex head screws already screwed in to the body unit, and unscrew 1 screw from the laser/light holder for easier Installation.
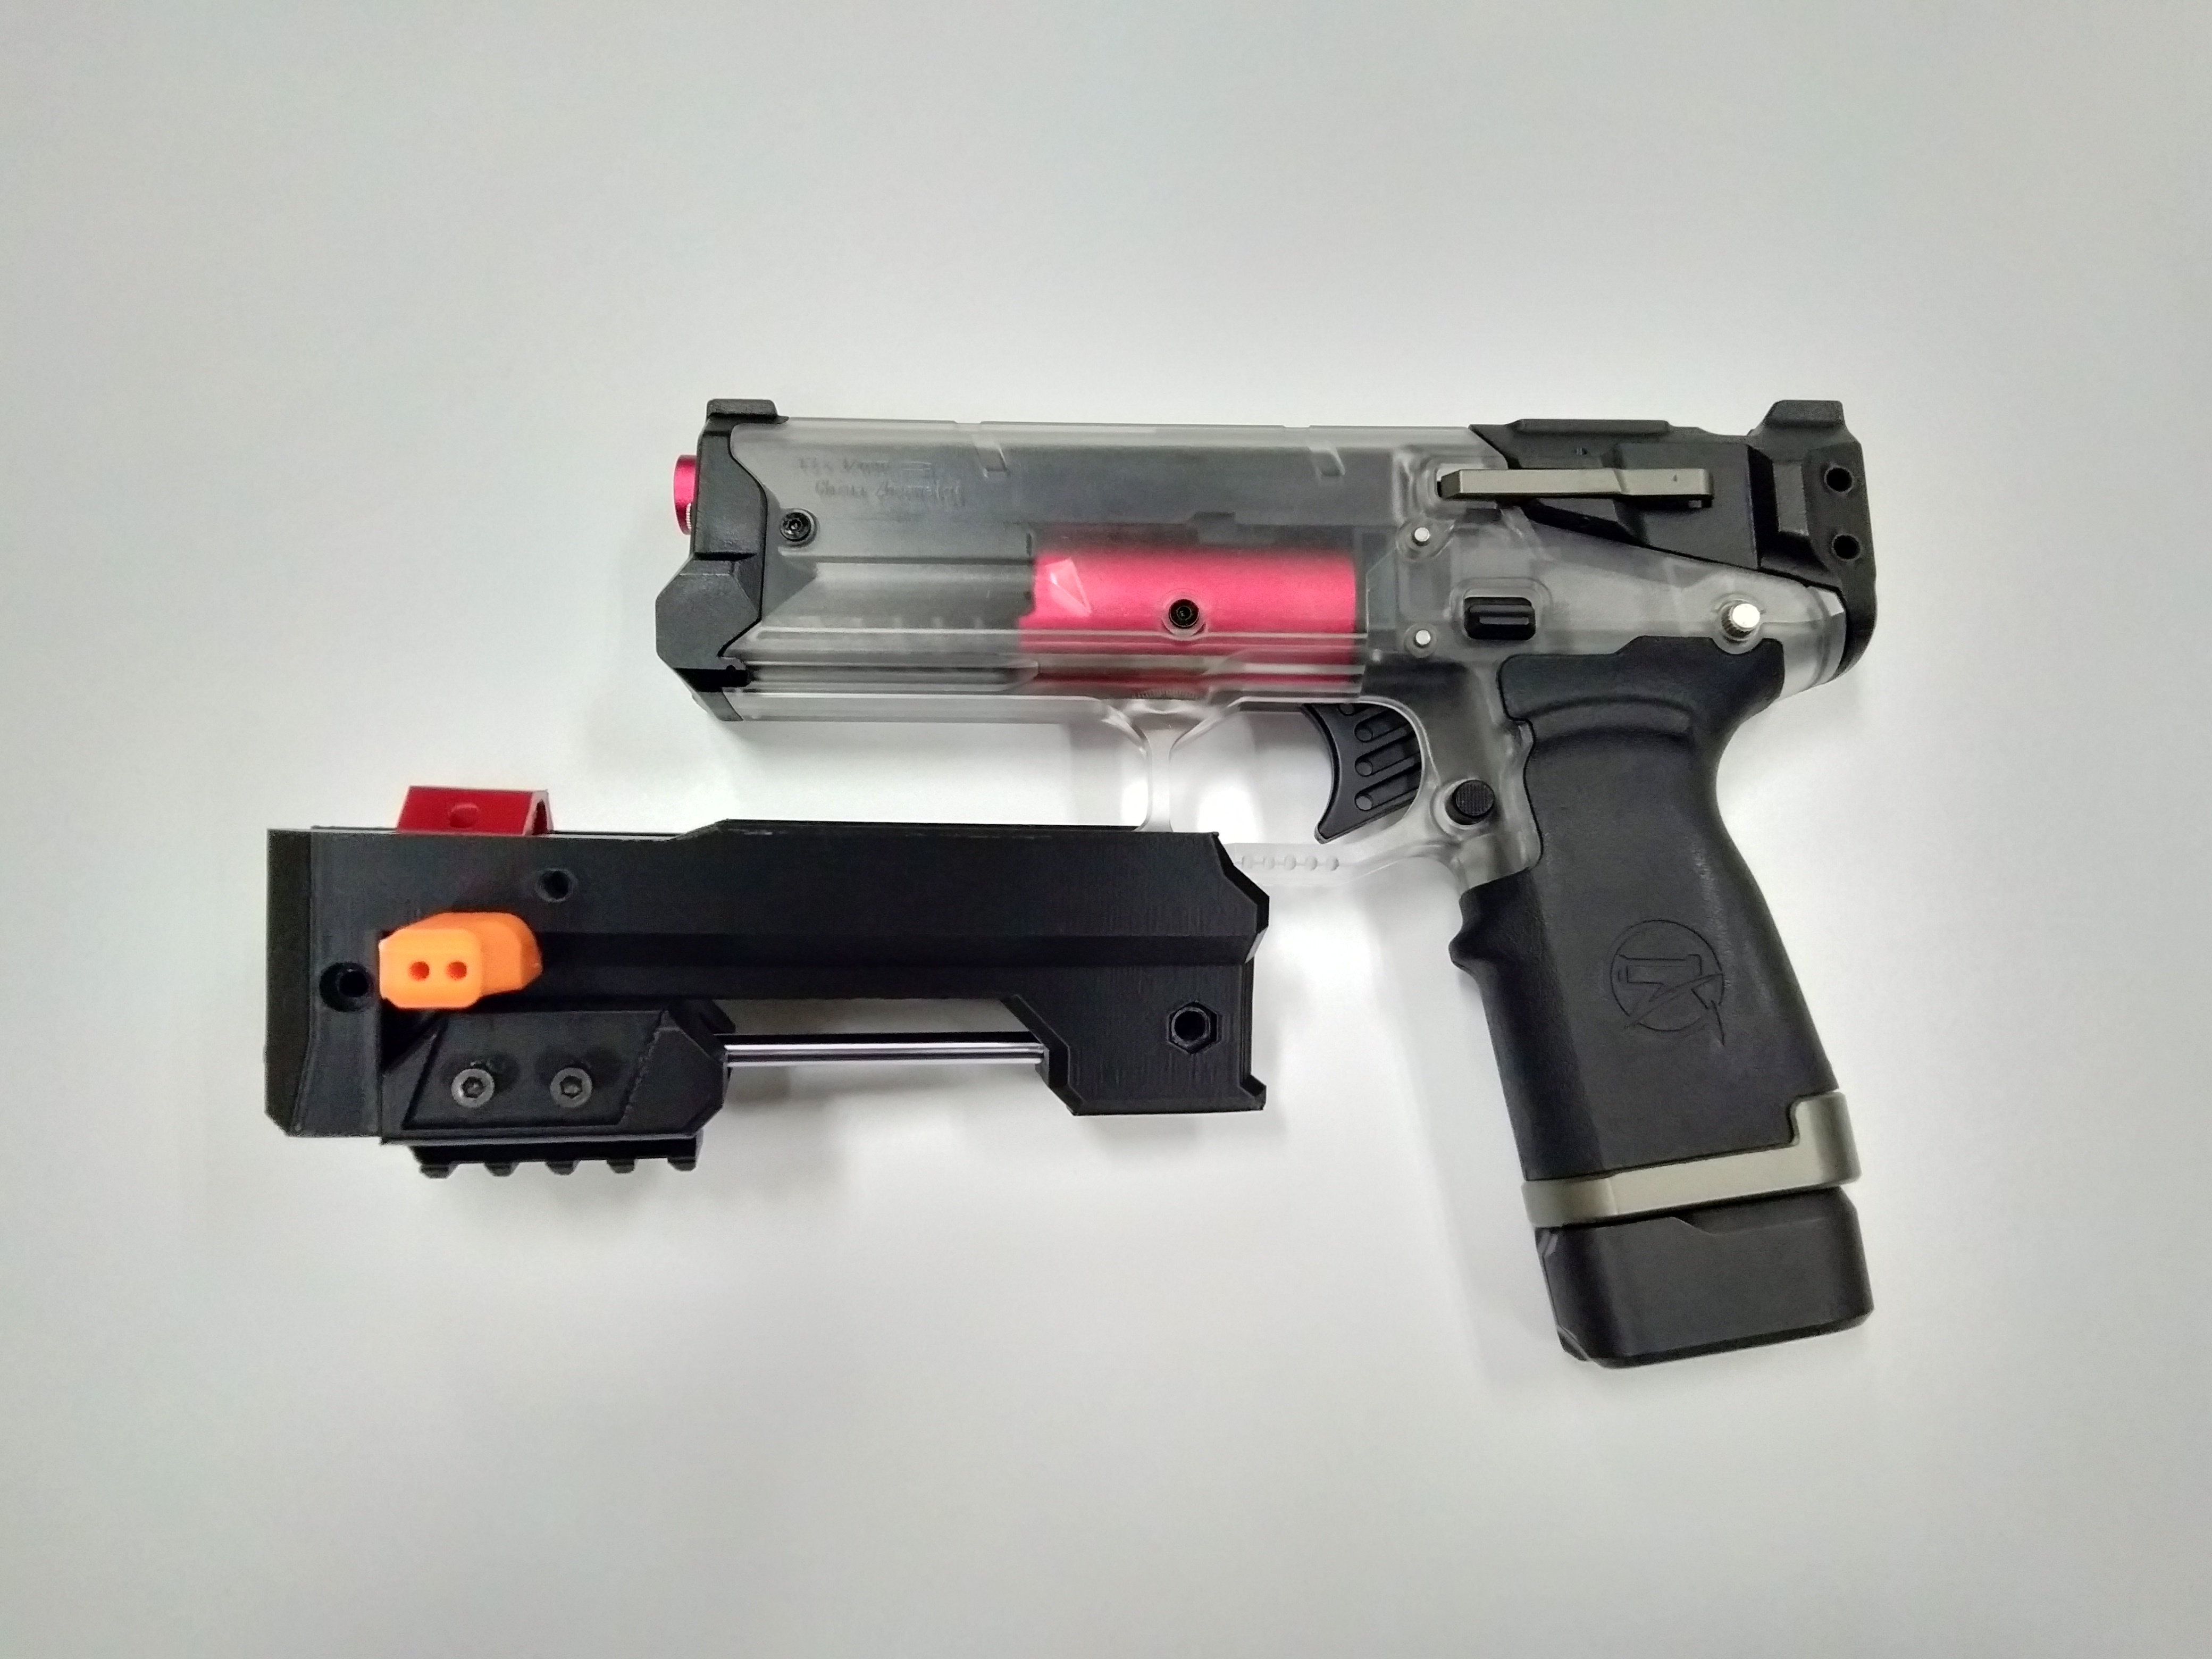
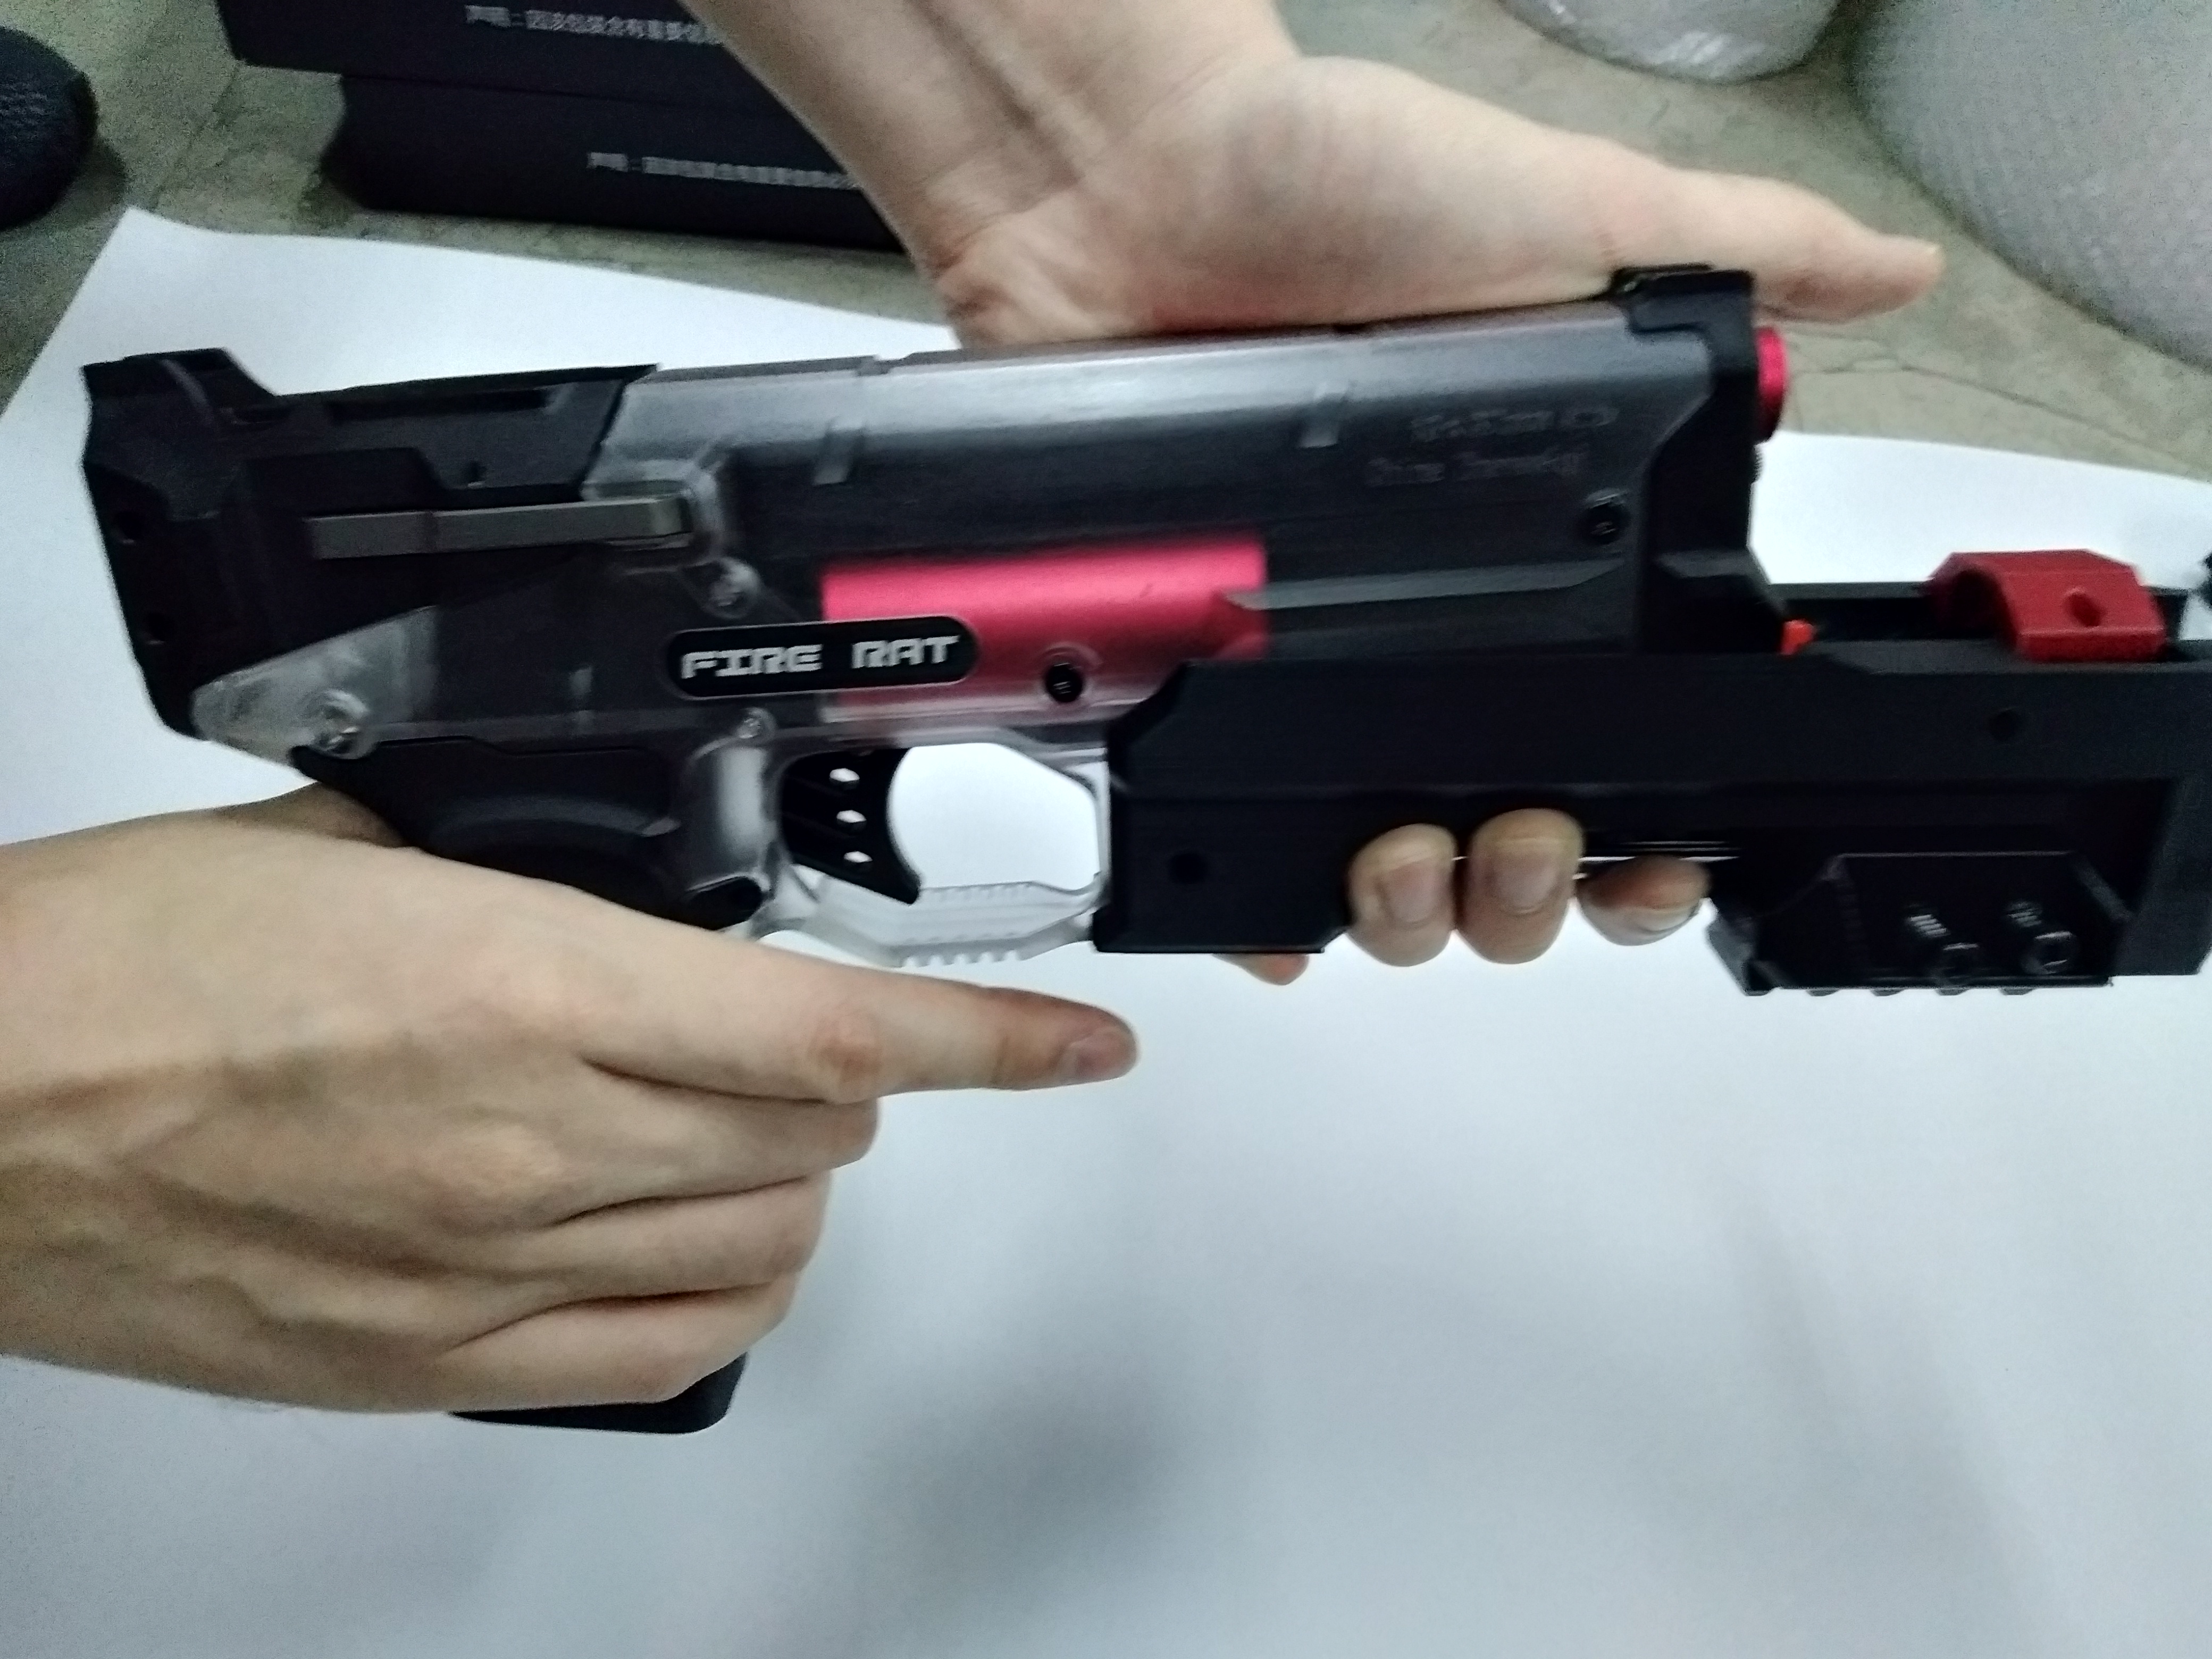
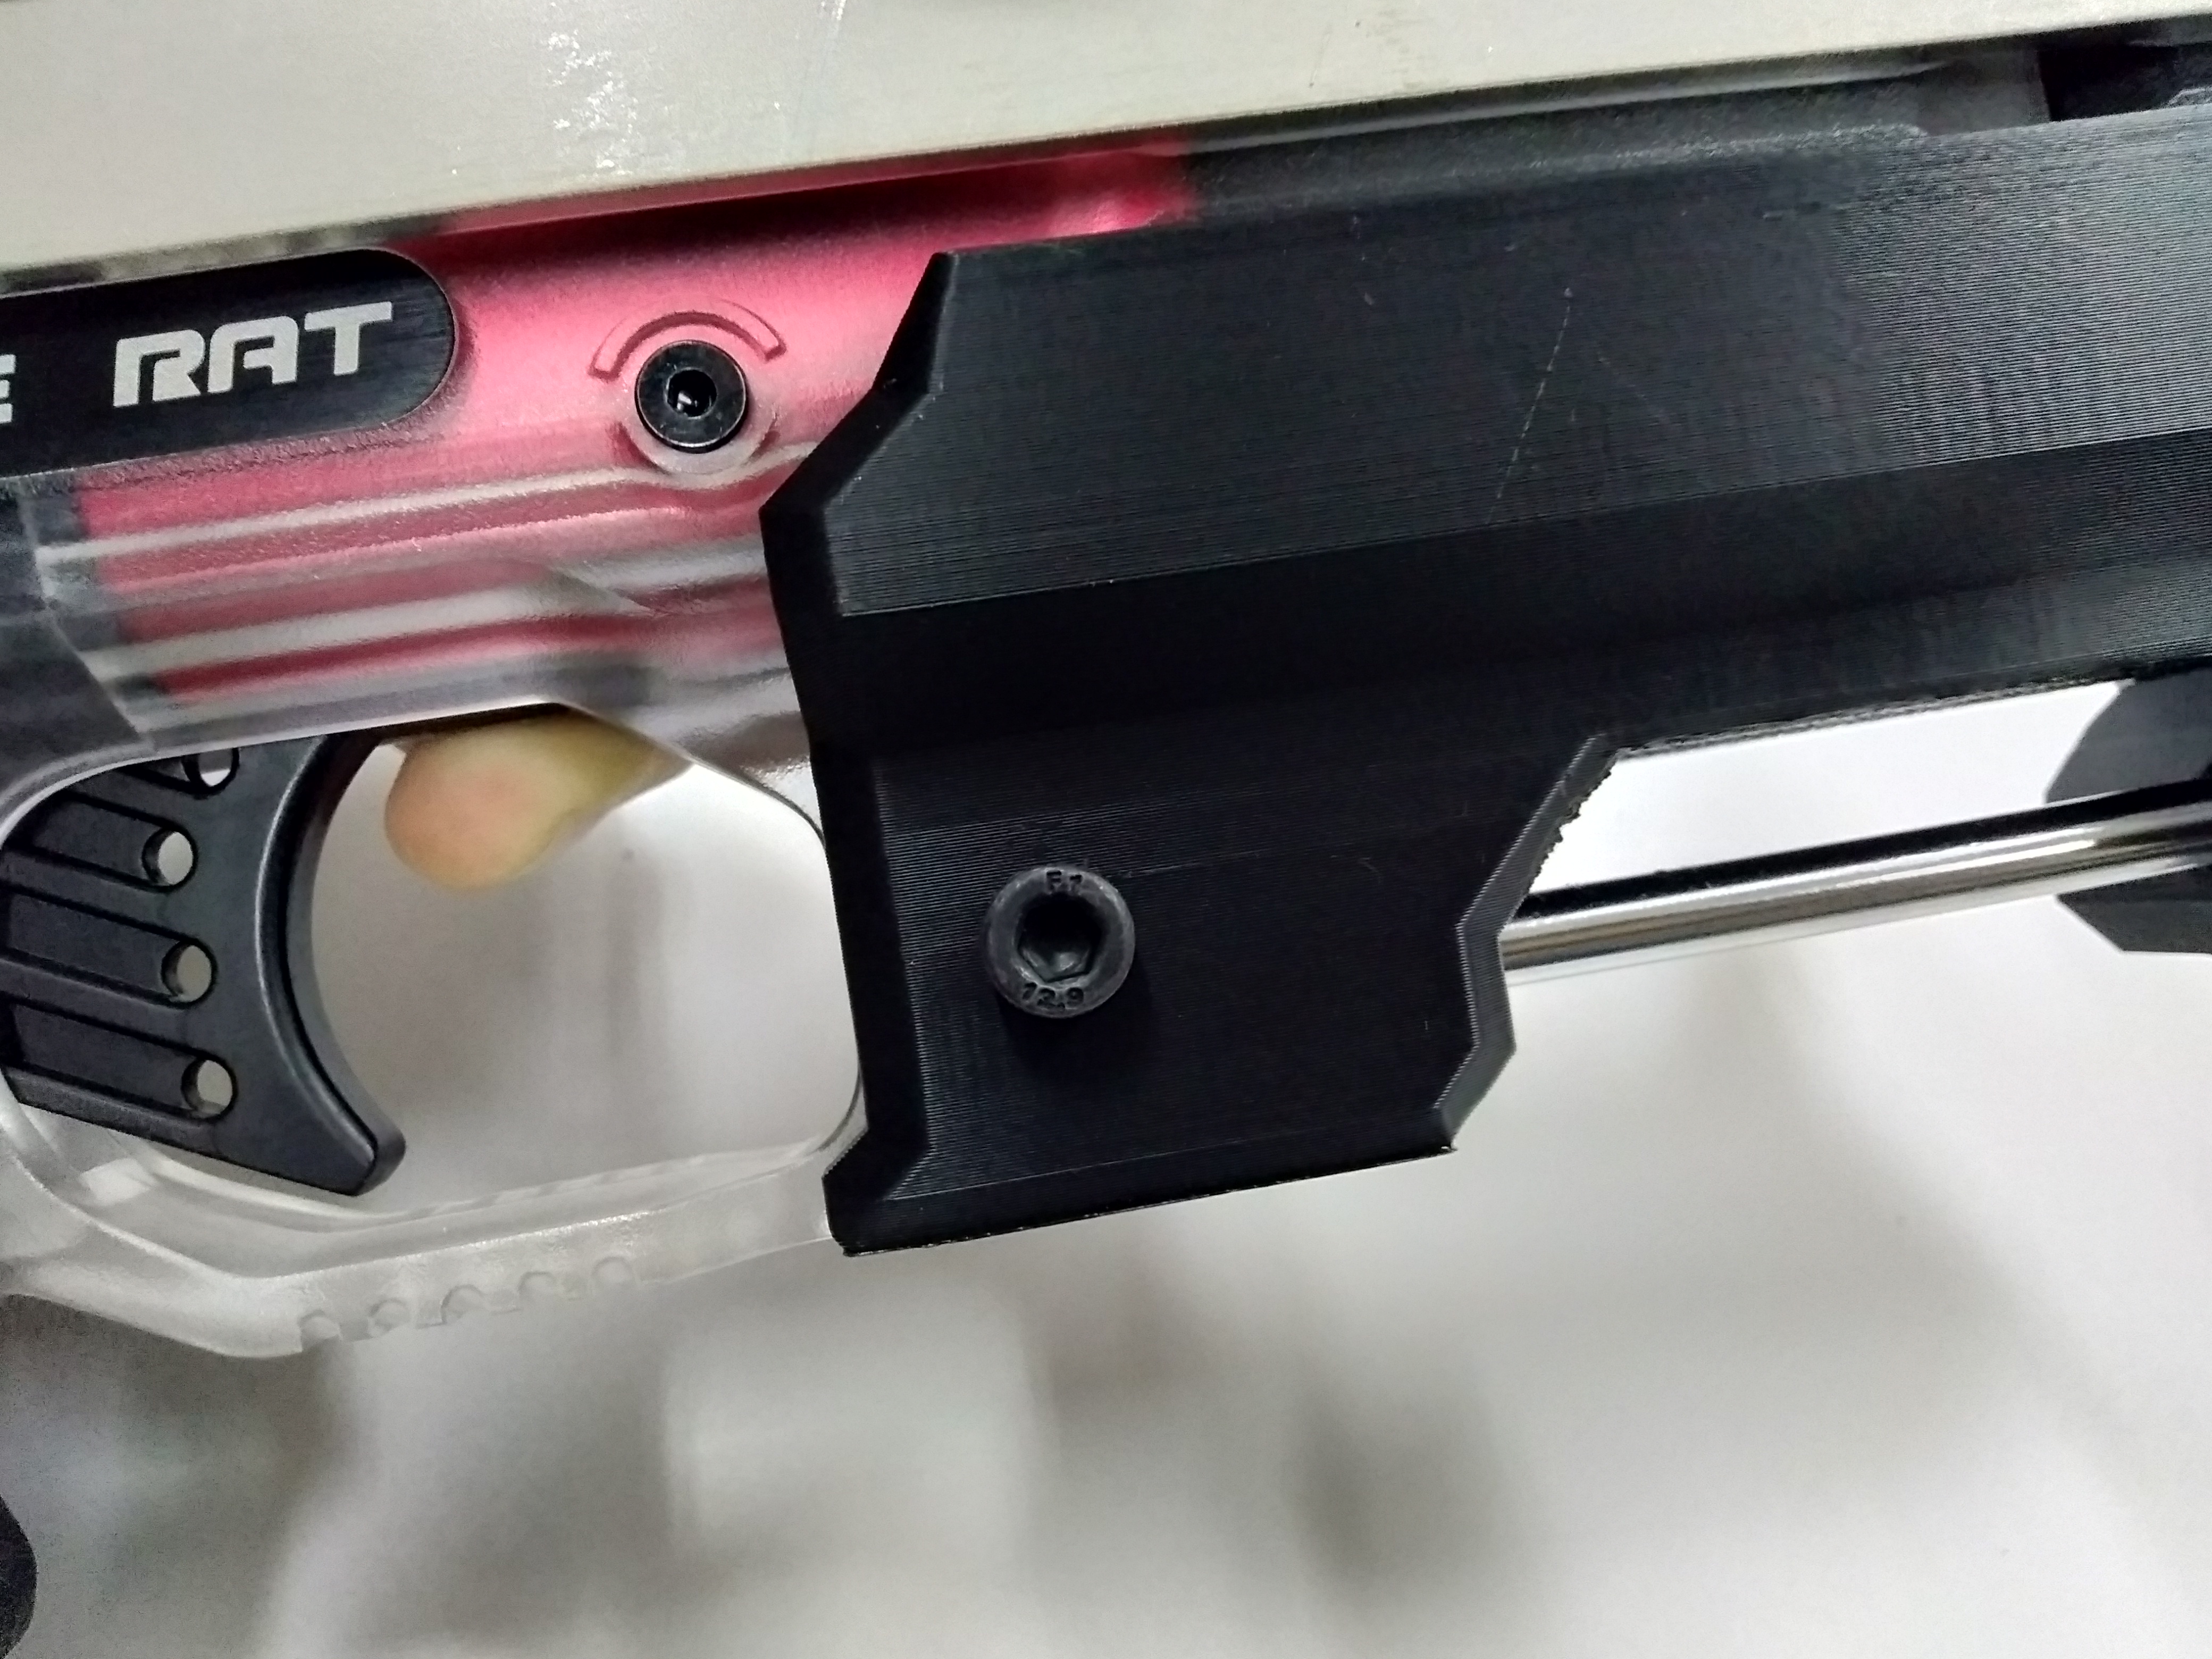
3. Push the bodykit onto your S200 Fire Rat unit as shown in the picture below. Ensure the holding groove of the bodykit is at the same position of the groove below the barrel near the trigger guard. You should hear a 'click' sound once the the kit is in place.
4. Screw back the laser/light holder screw point to ensure that the carbine kit does not open up unneccessarily.
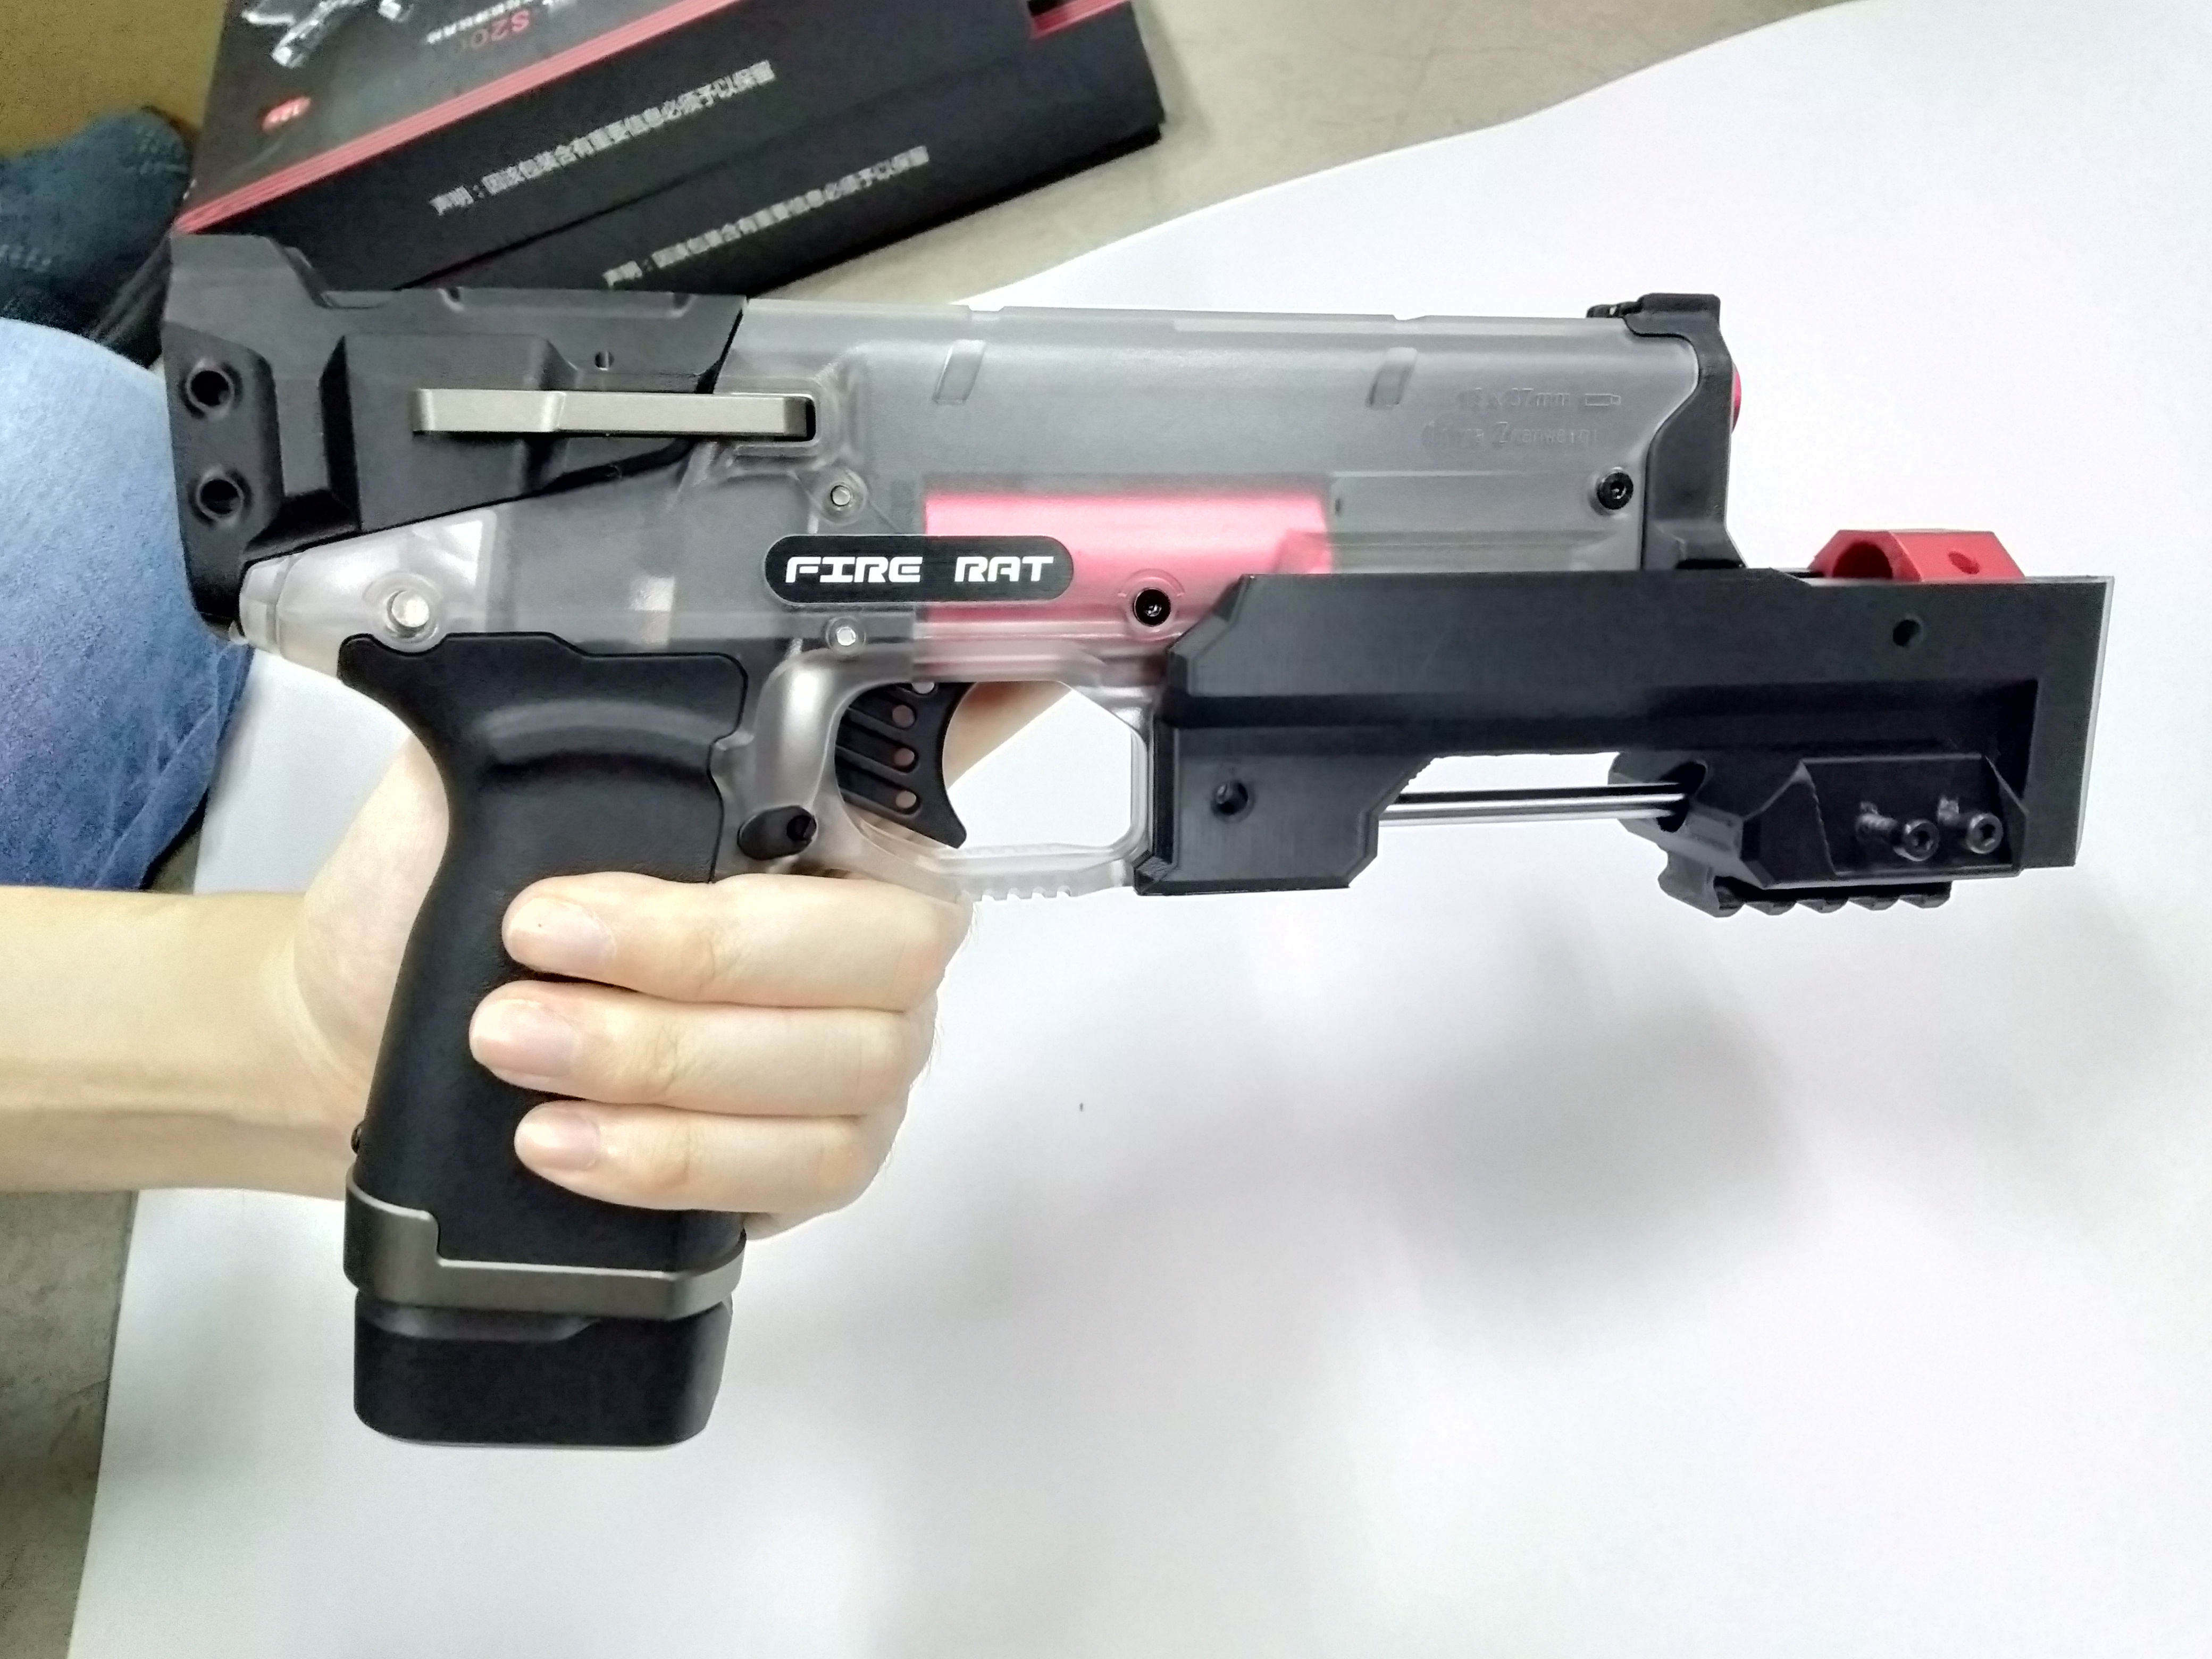
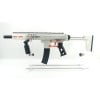
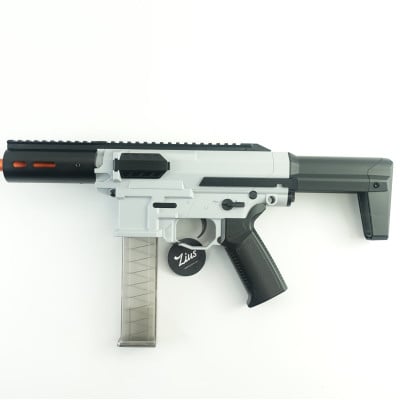
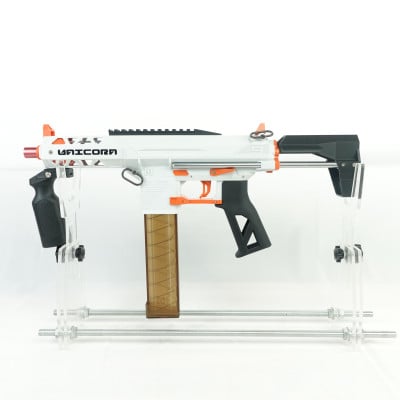
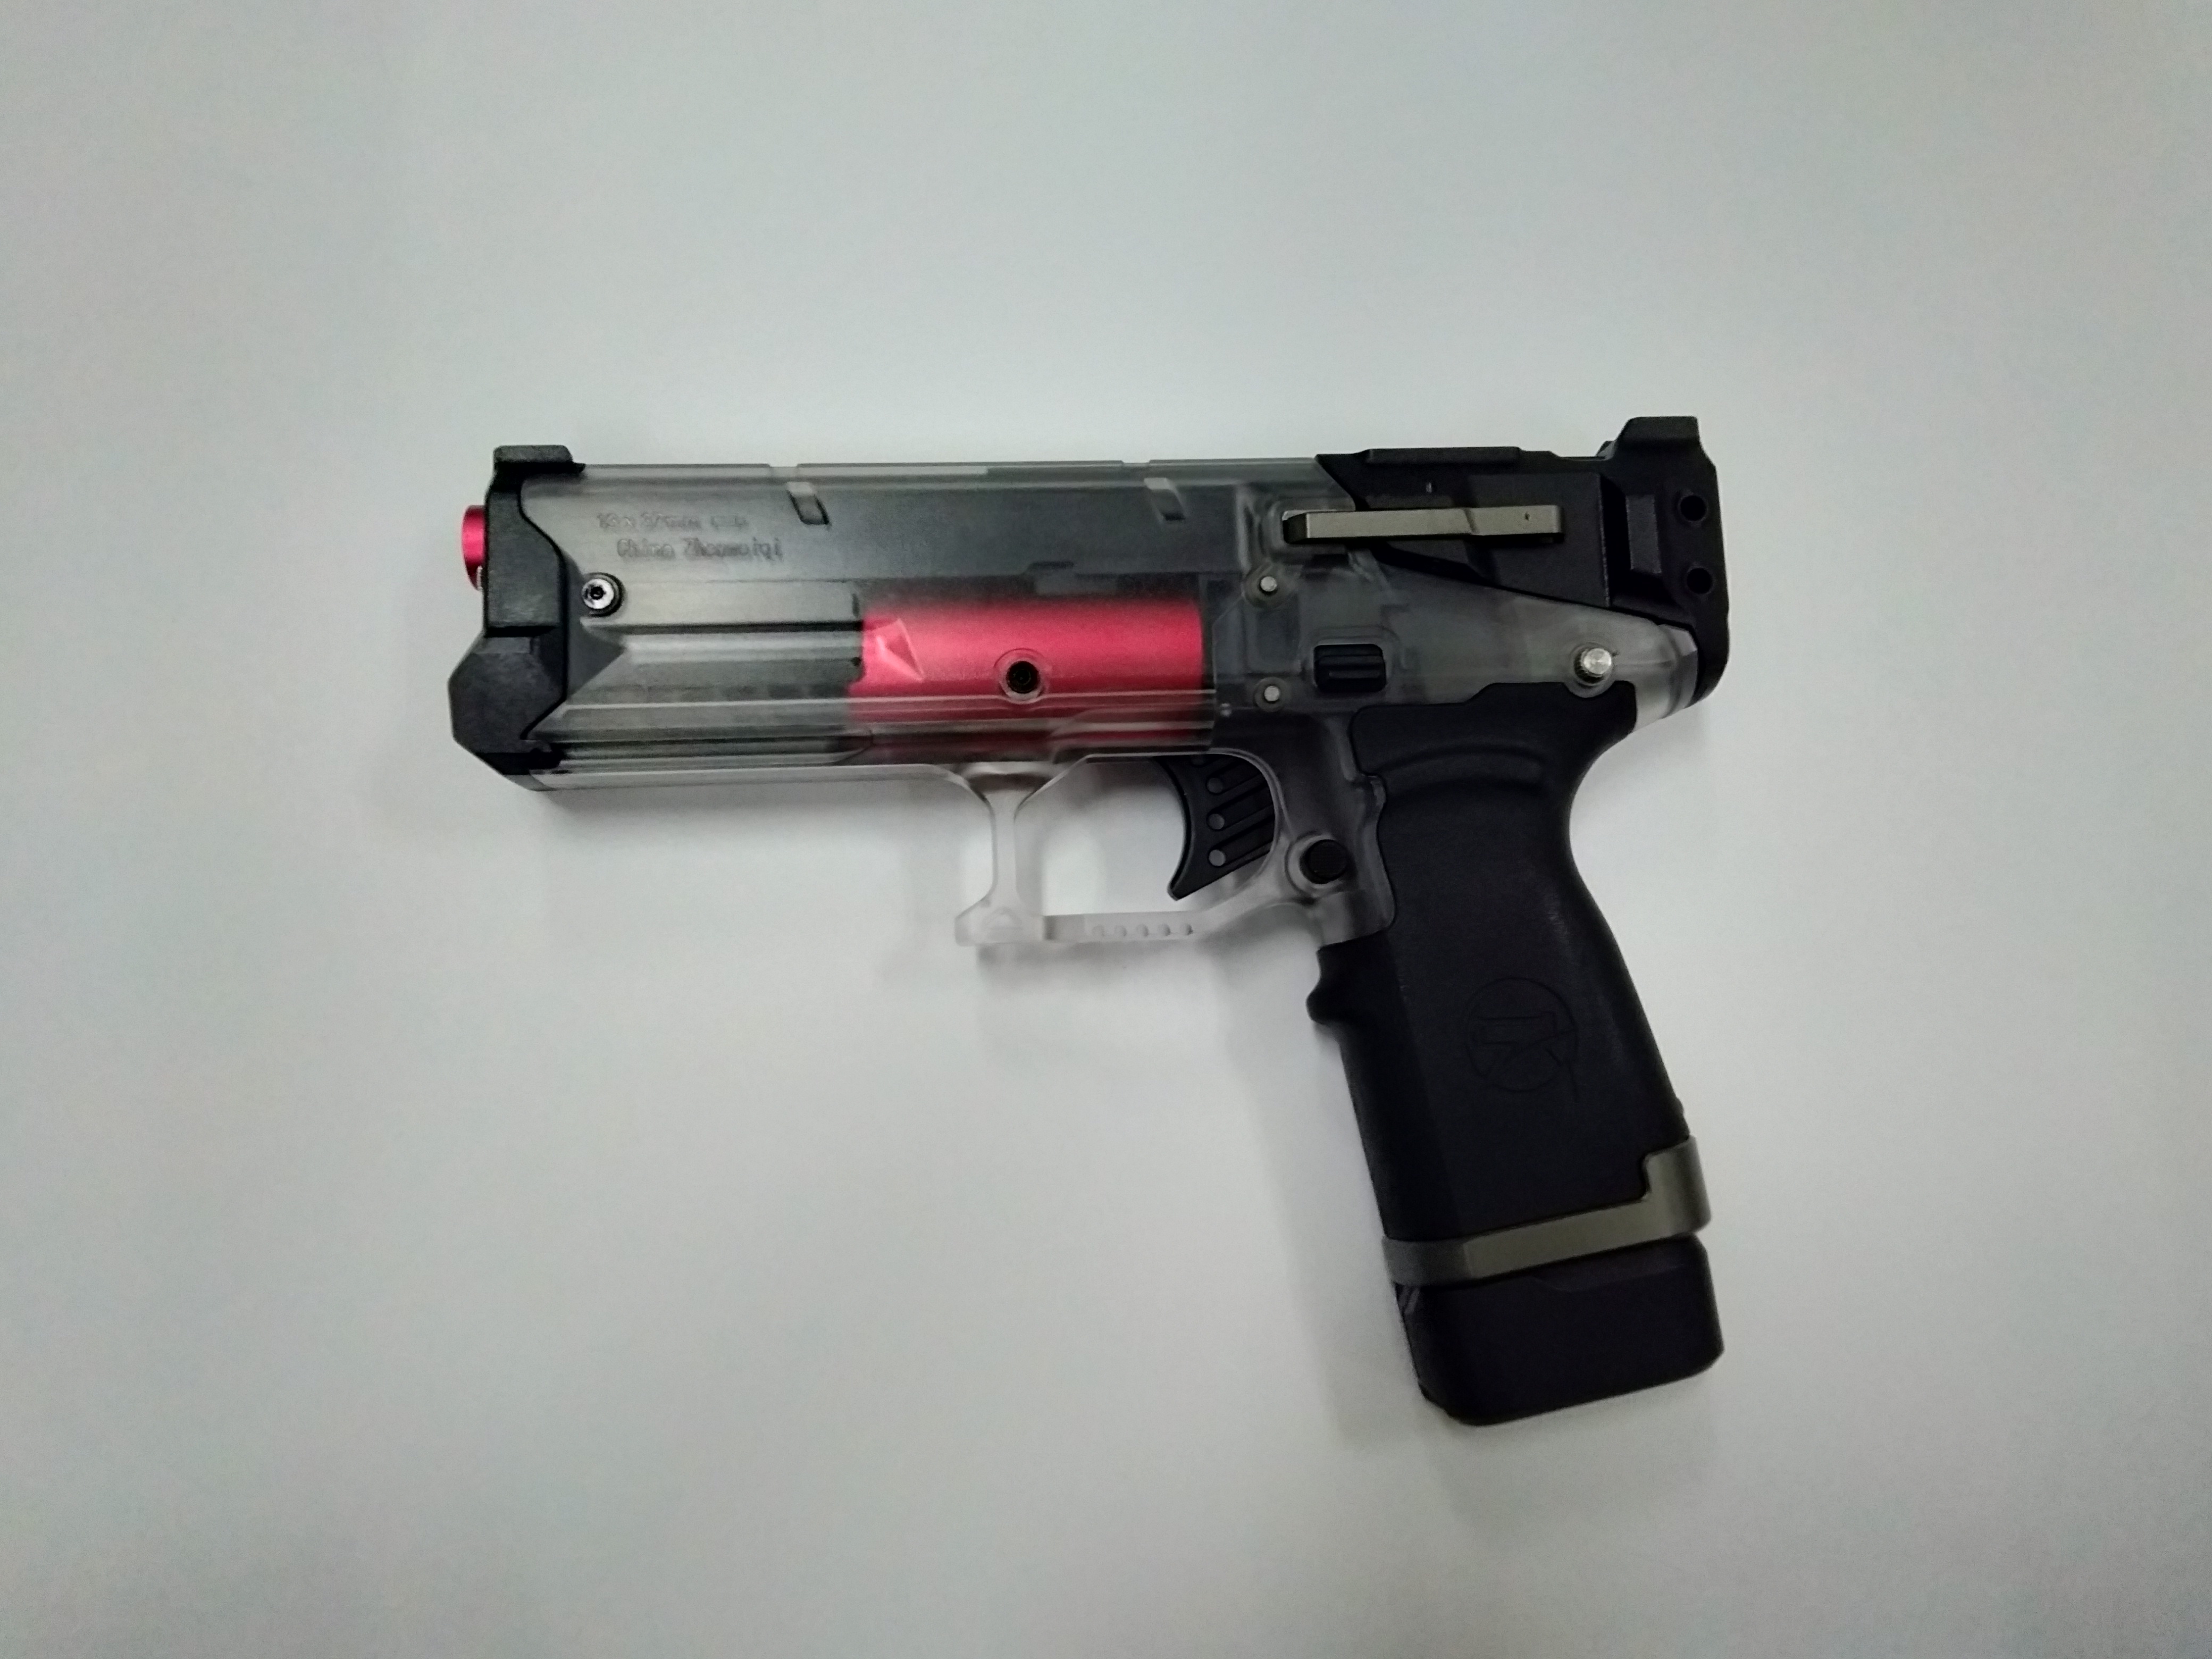
Your S200 should look like this when the carbine kit is installed.
5. Unscrew the screws on both sides of priming pump unit to prepare the installation of the priming bar unit.
 \
\
6. With screws removed, place the priming bar on the cut-out area of the pump priming unit. Secure the priming bar with the screws you've unscrewed earlier.(Please do this one side at a time)
7. With the priming bar secured to the pump primer, place the replacement pin through the hole at the back piece. Secure the pin with the flat head screw that comes with it. (Please do this one at a time to ensure the best result)
Stage 1 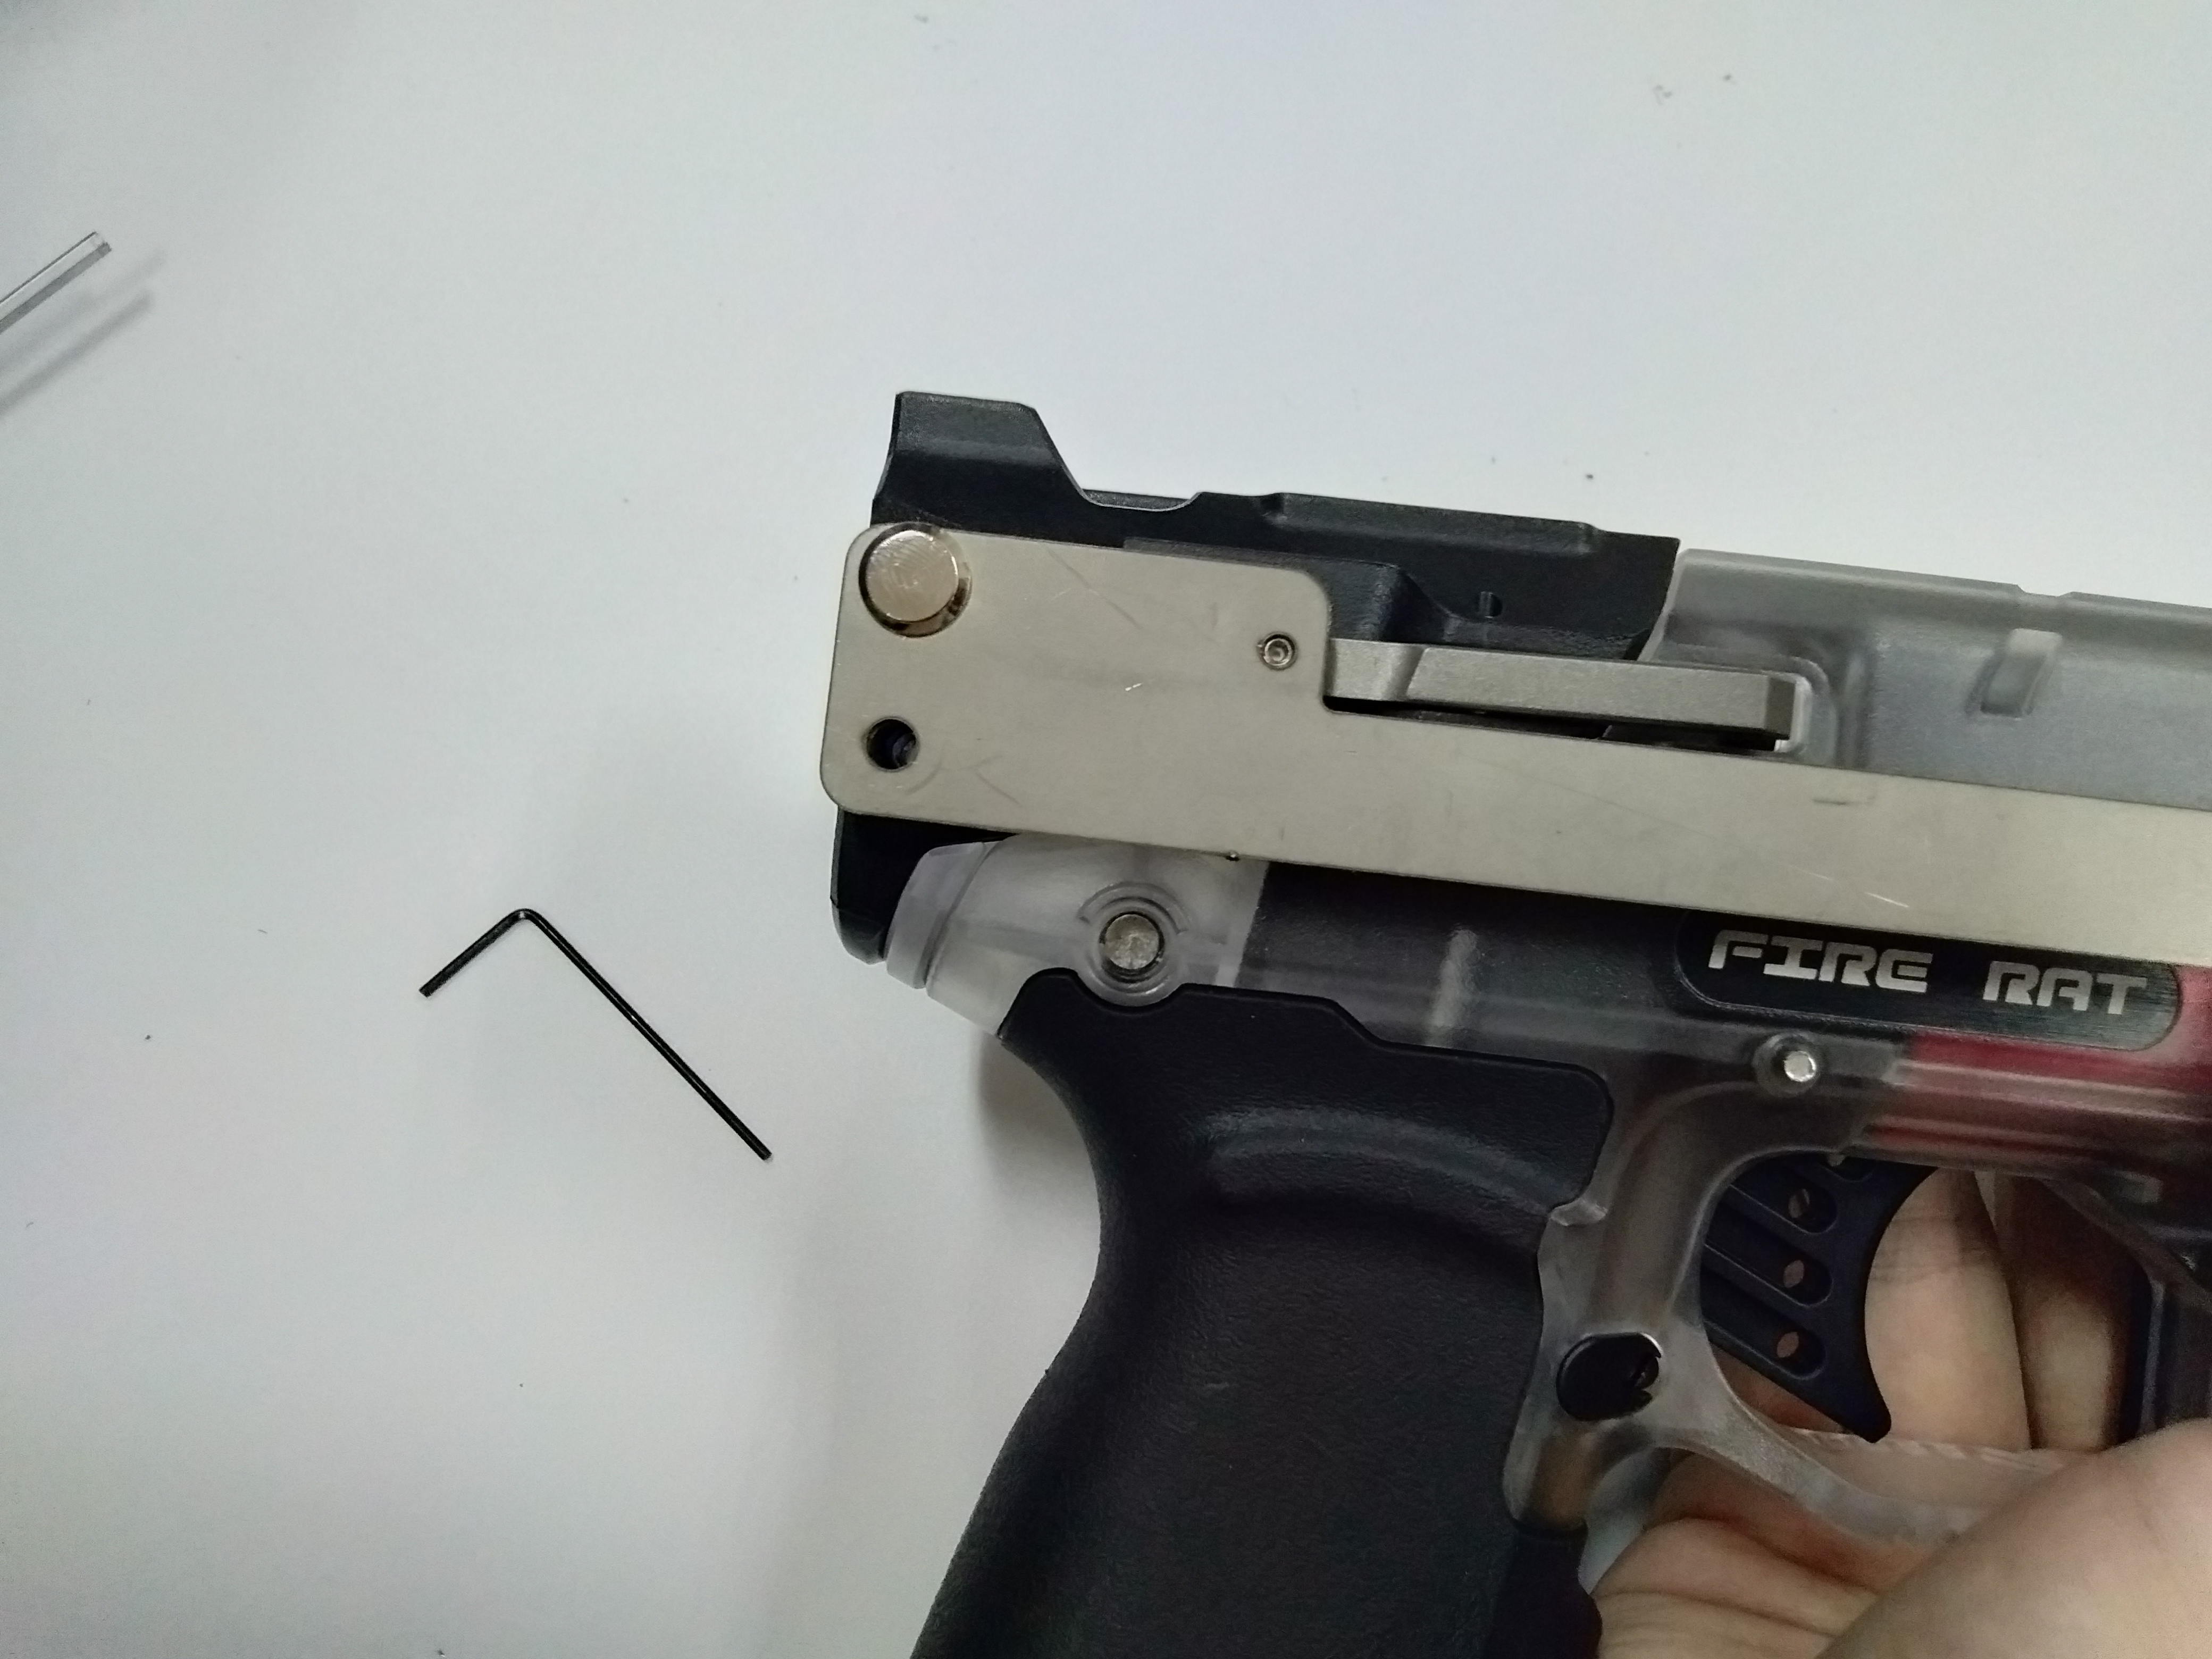 Stage 2
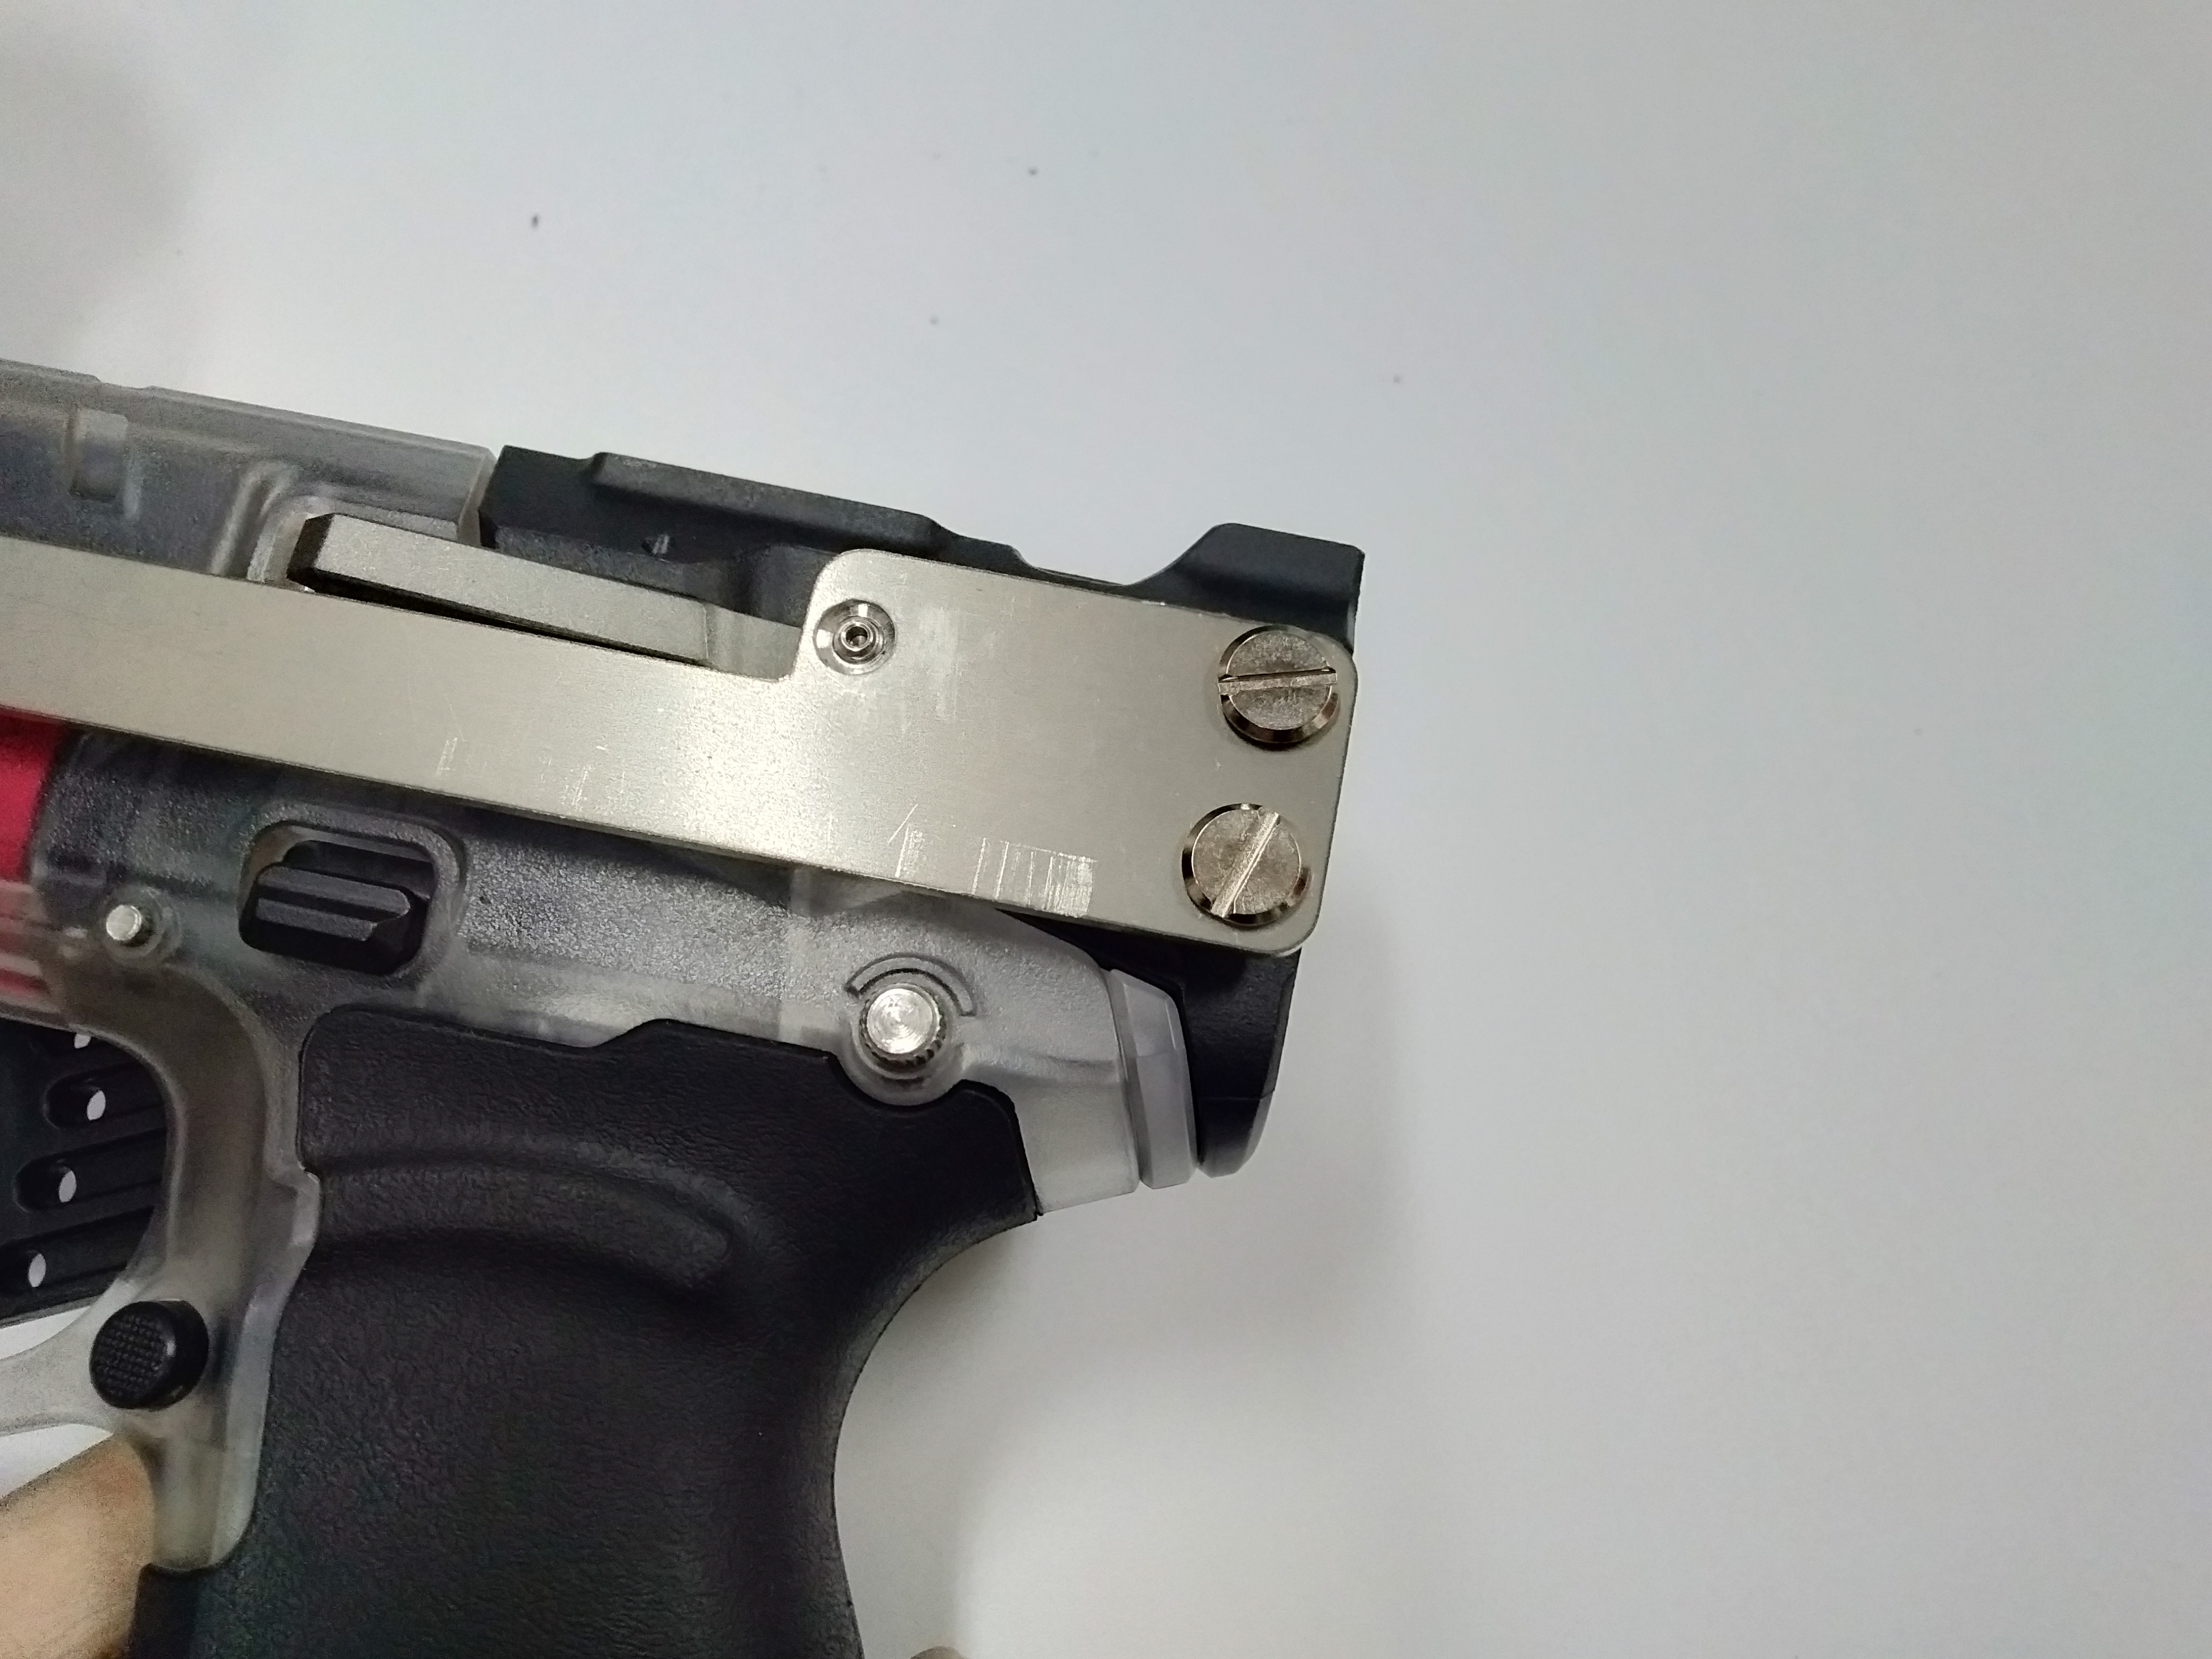
8. After securing the priming bar, tighten the grub screw that is on the priming bar to ensure the back piece holder is up as sown in the Stage 2 picture of step 7
9. Screw the front of the carbine kit.
10. Screw main receiver point of the carbine kit.
S200 Complete Blaster Carbine Kit Installation Guide
In order to build the complete carbine kit of the S200, you have to forgo Step 10 of the basic Carbine kit installation
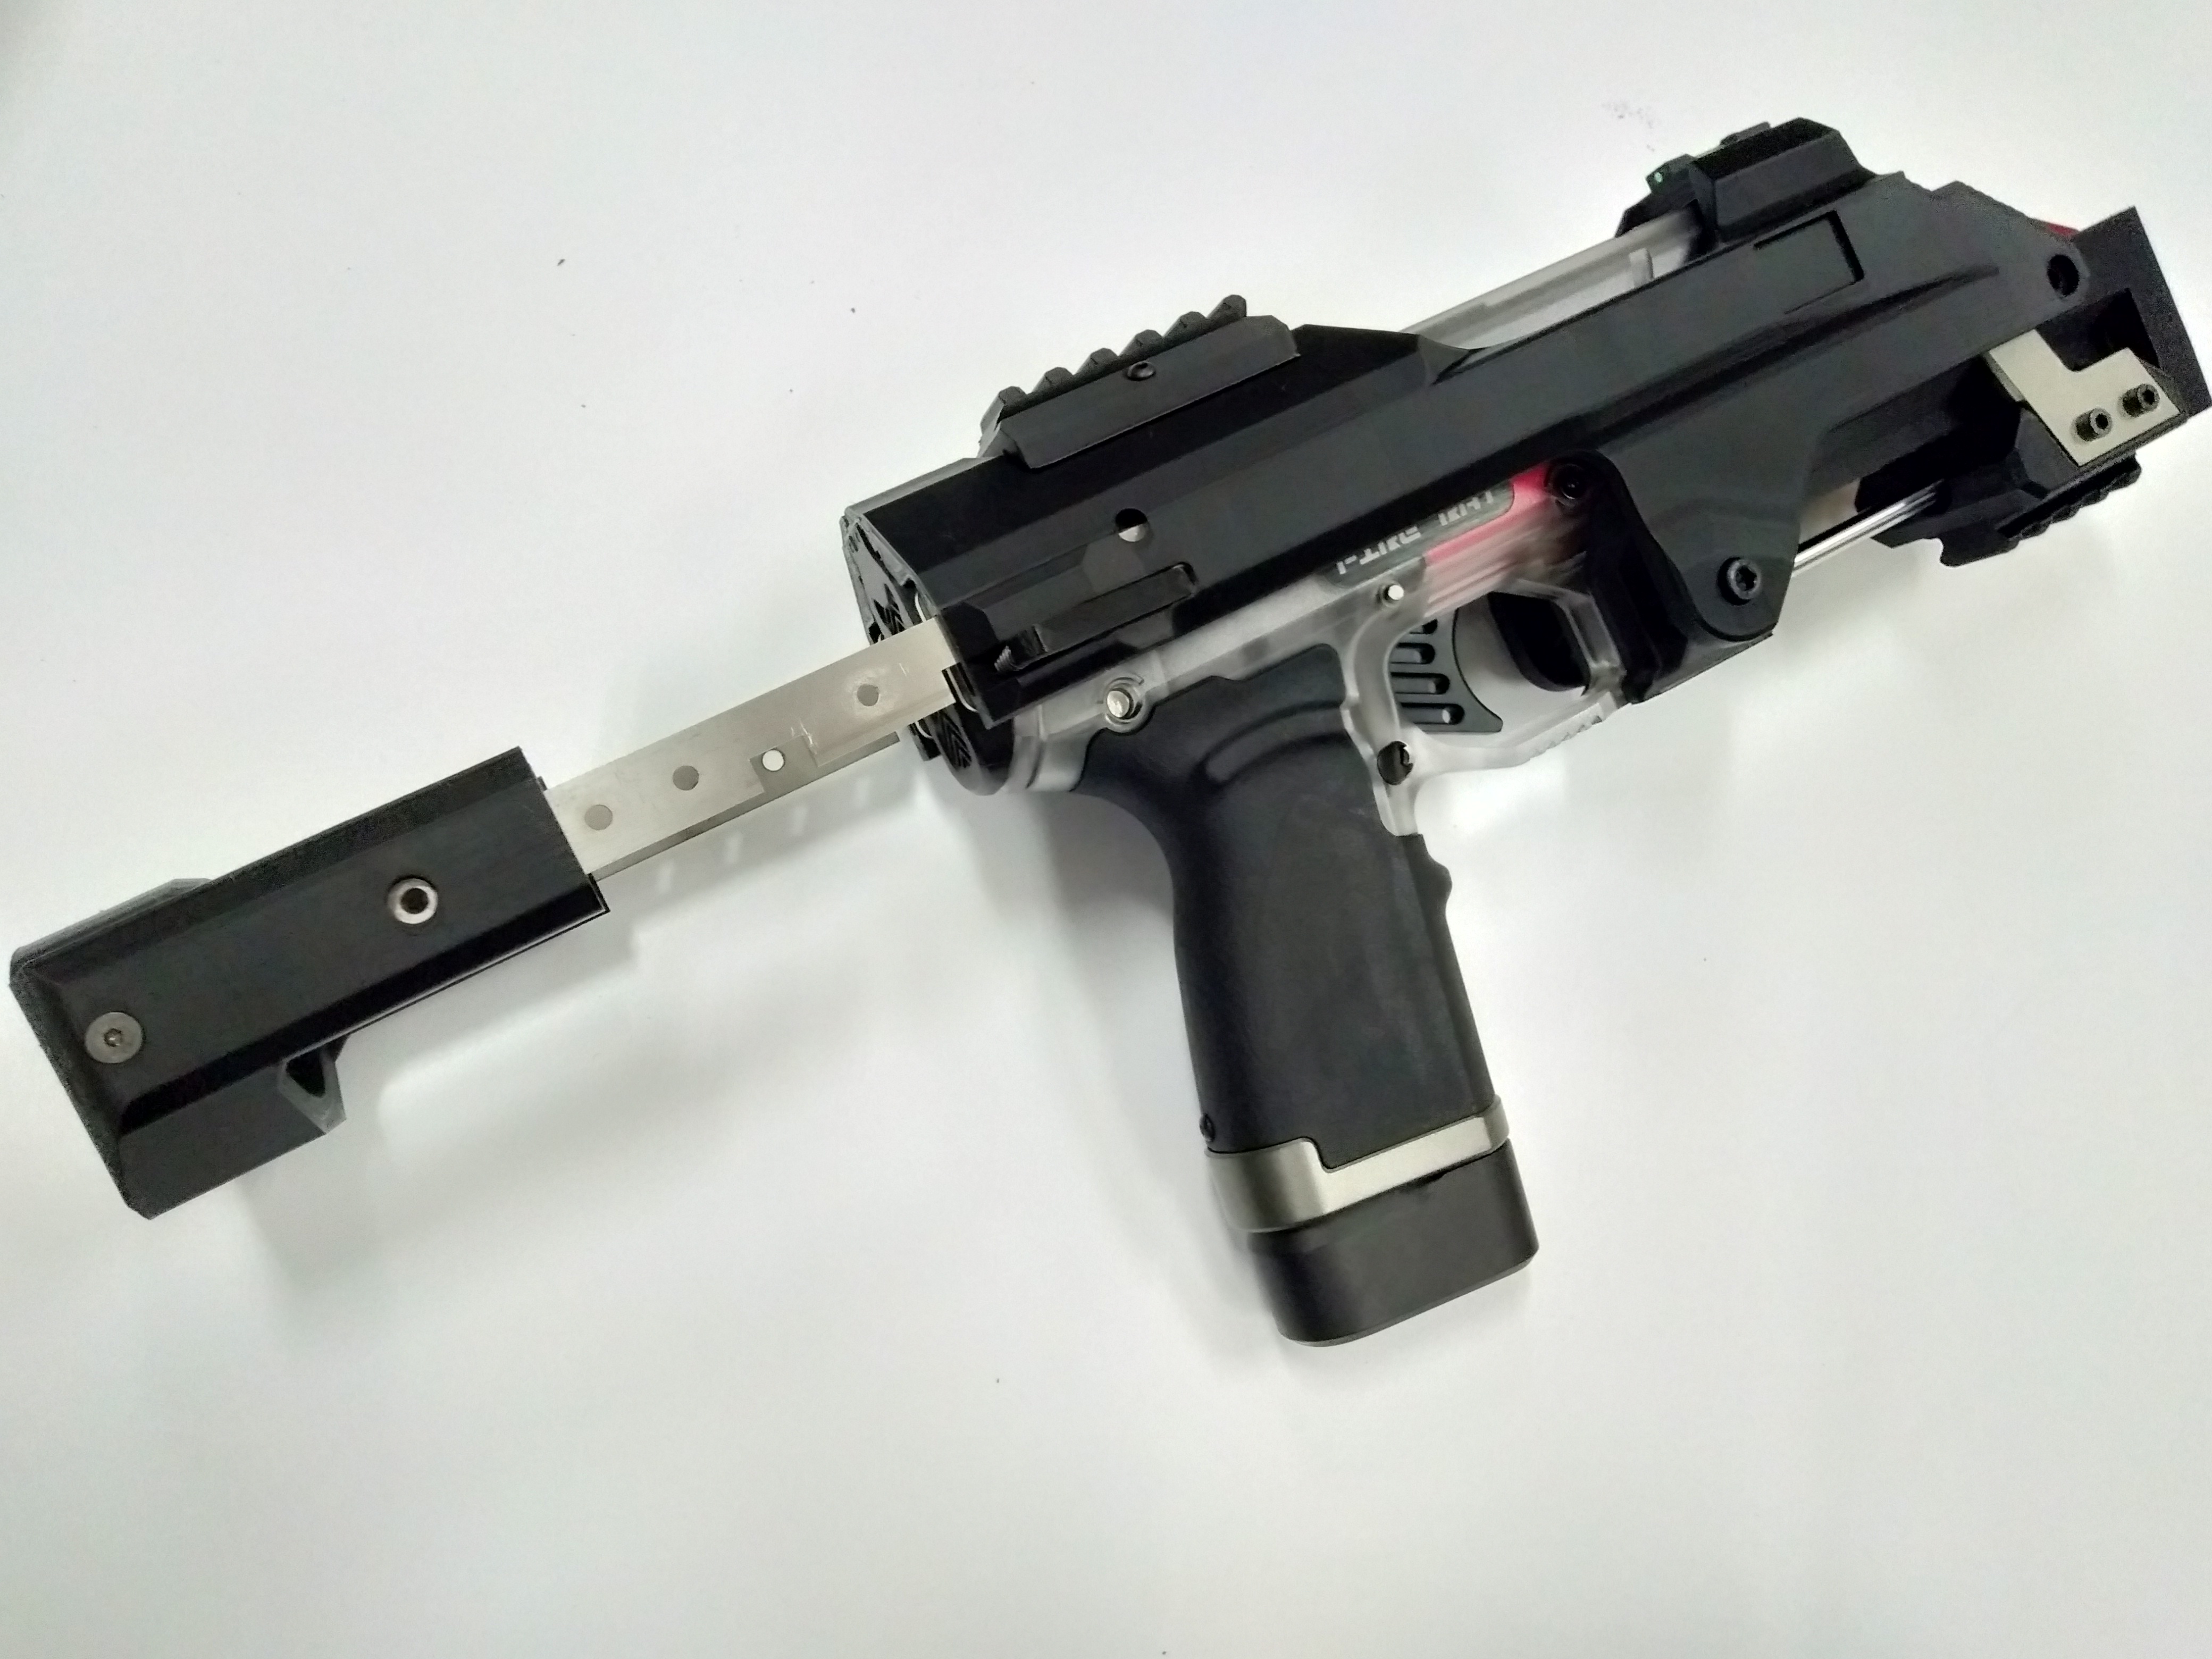
1. With the basic carbine kit installed, take the main body unit and place it on top of your S200 Unit. Ensure that the top carbine body piece is aligned with the iron sights of the main S200 unit. as shown in the picture below.
2. Secure the top carbine body piece with the long screw that it came with, use the spacer provided with the carbine top piece to prevent overtightening the unit.
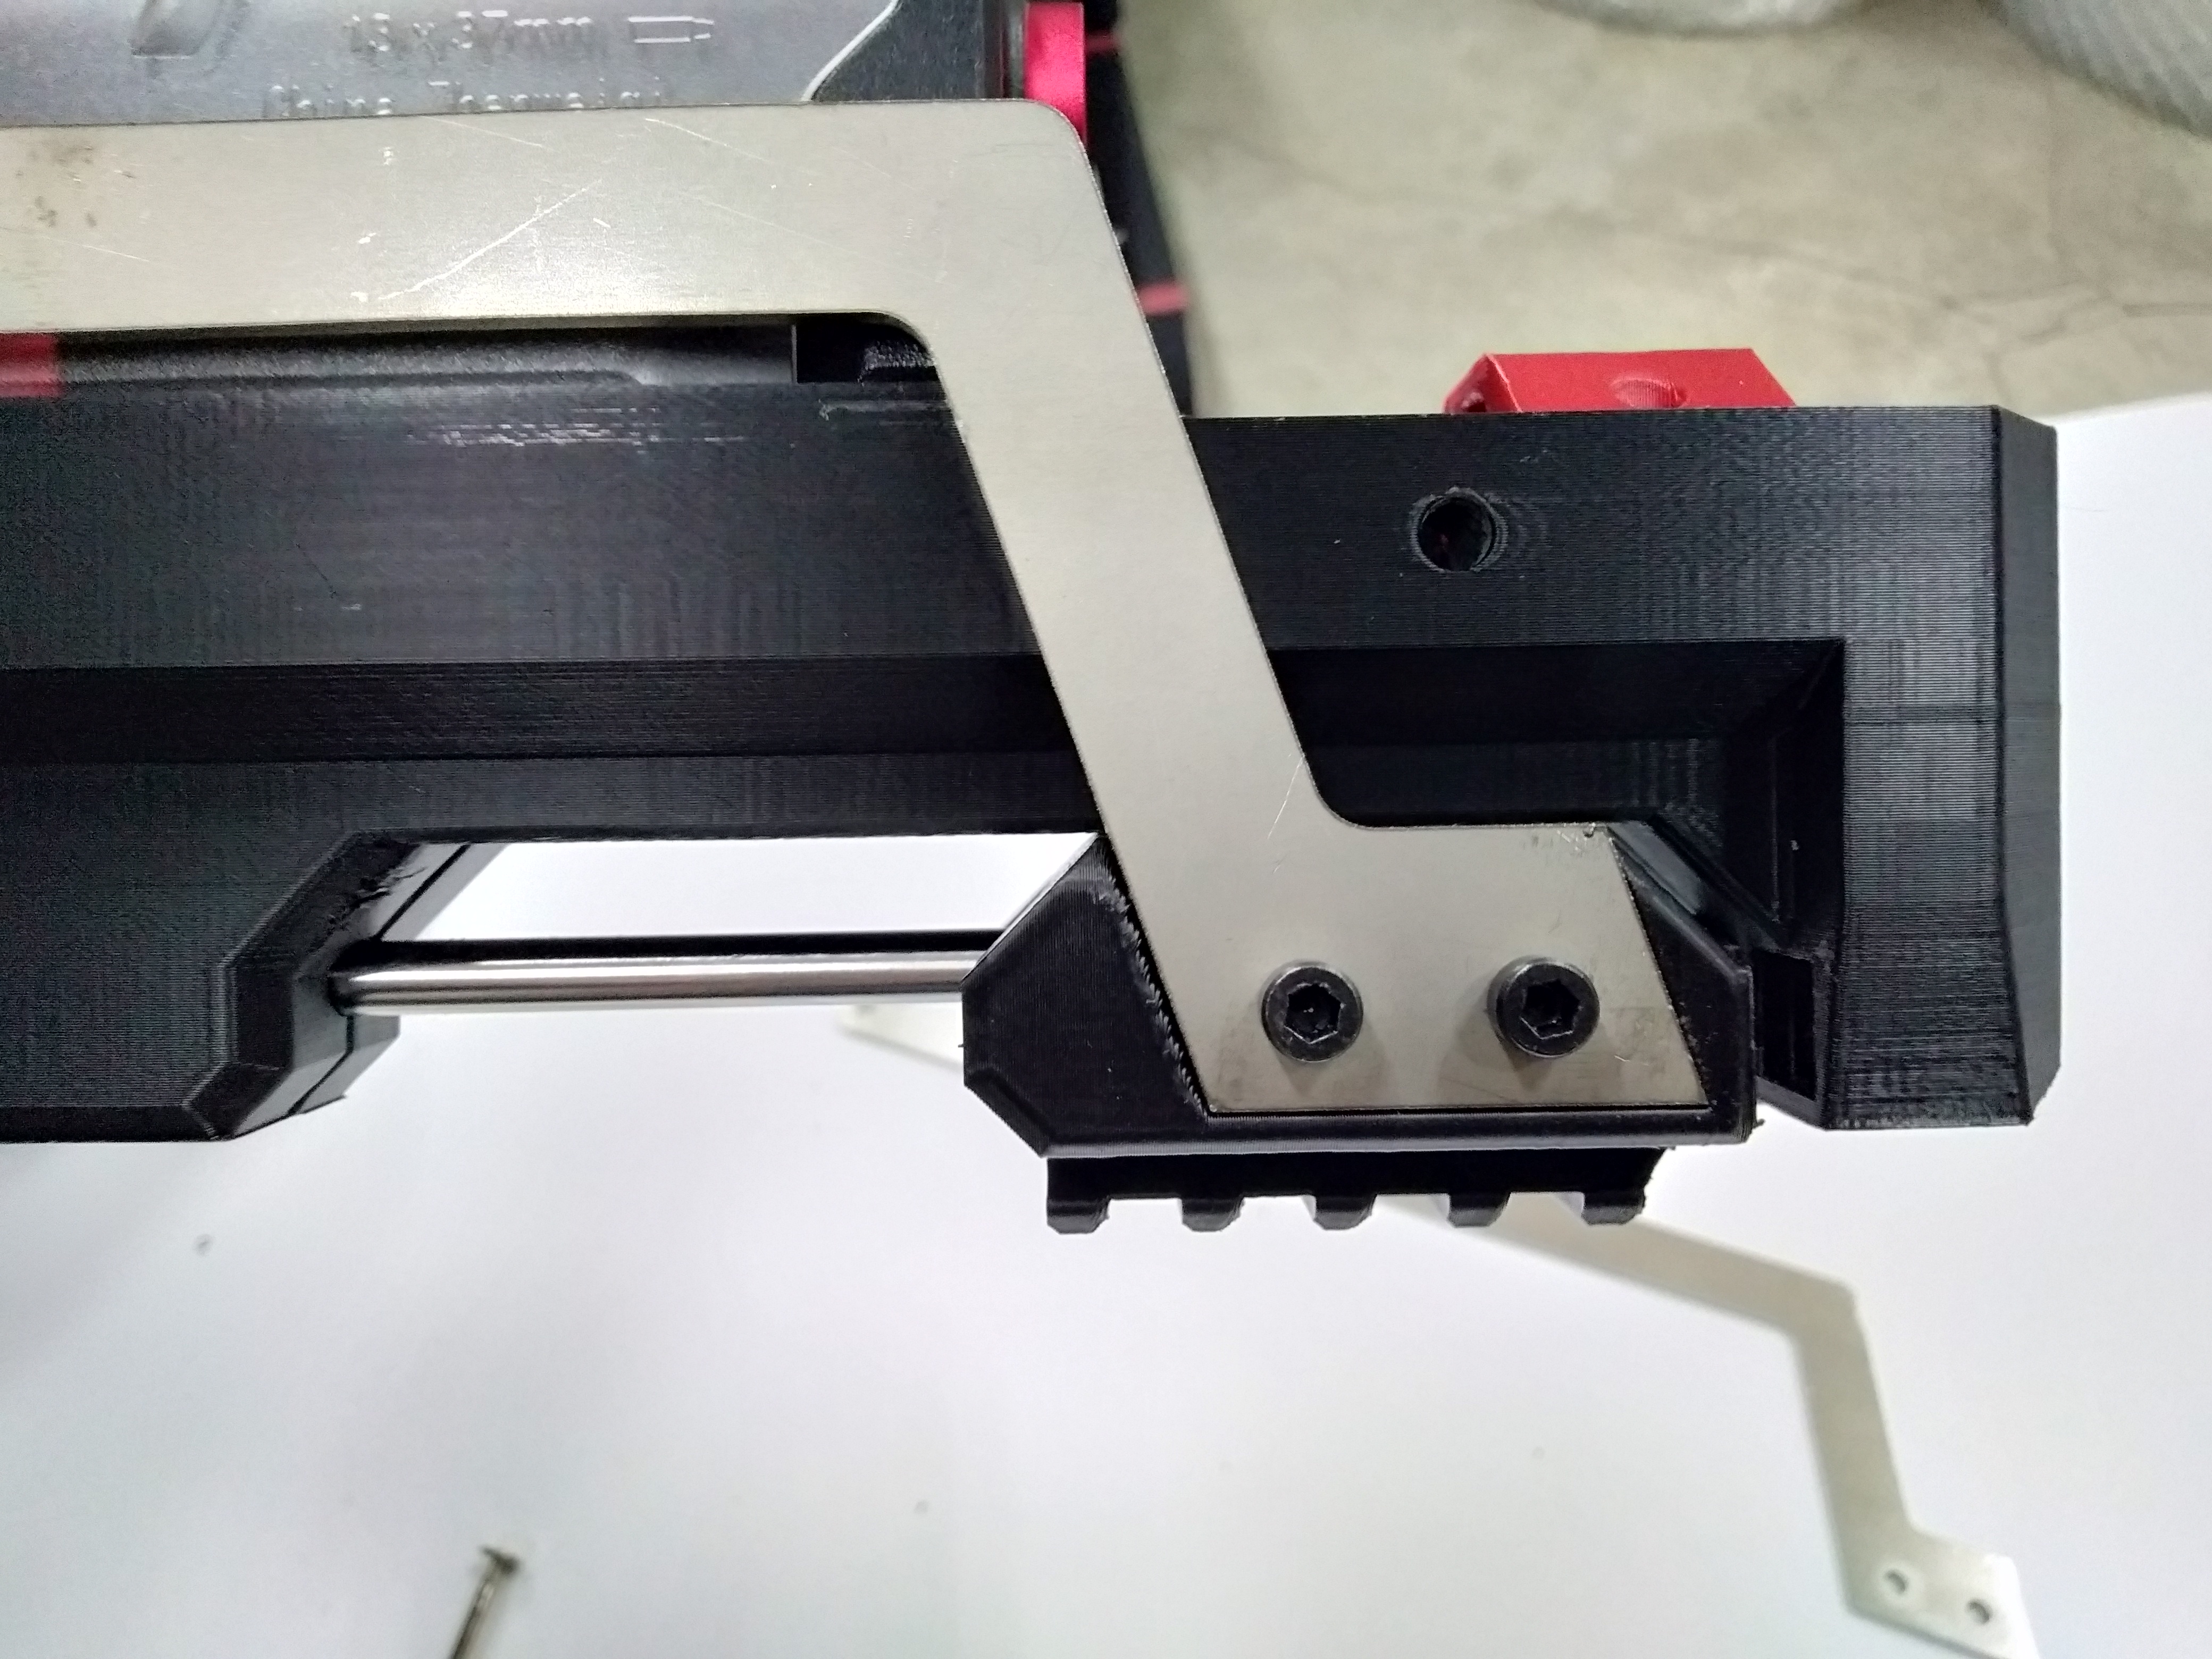
3. Place the butt piece/buffer tube holder unit through the metal pieces jutting out of the top carbine bodykit. (ENSURE that the holes are aligned with each other as shown in the picture below.)
NOTE!!: You may have to do this slowly with one bar at a time. A mallet may be required to ensure proper fitment.
4. Secure the butt-piece with the screws from the unit. Please ENSURE that the grub screw hole point is facing up.
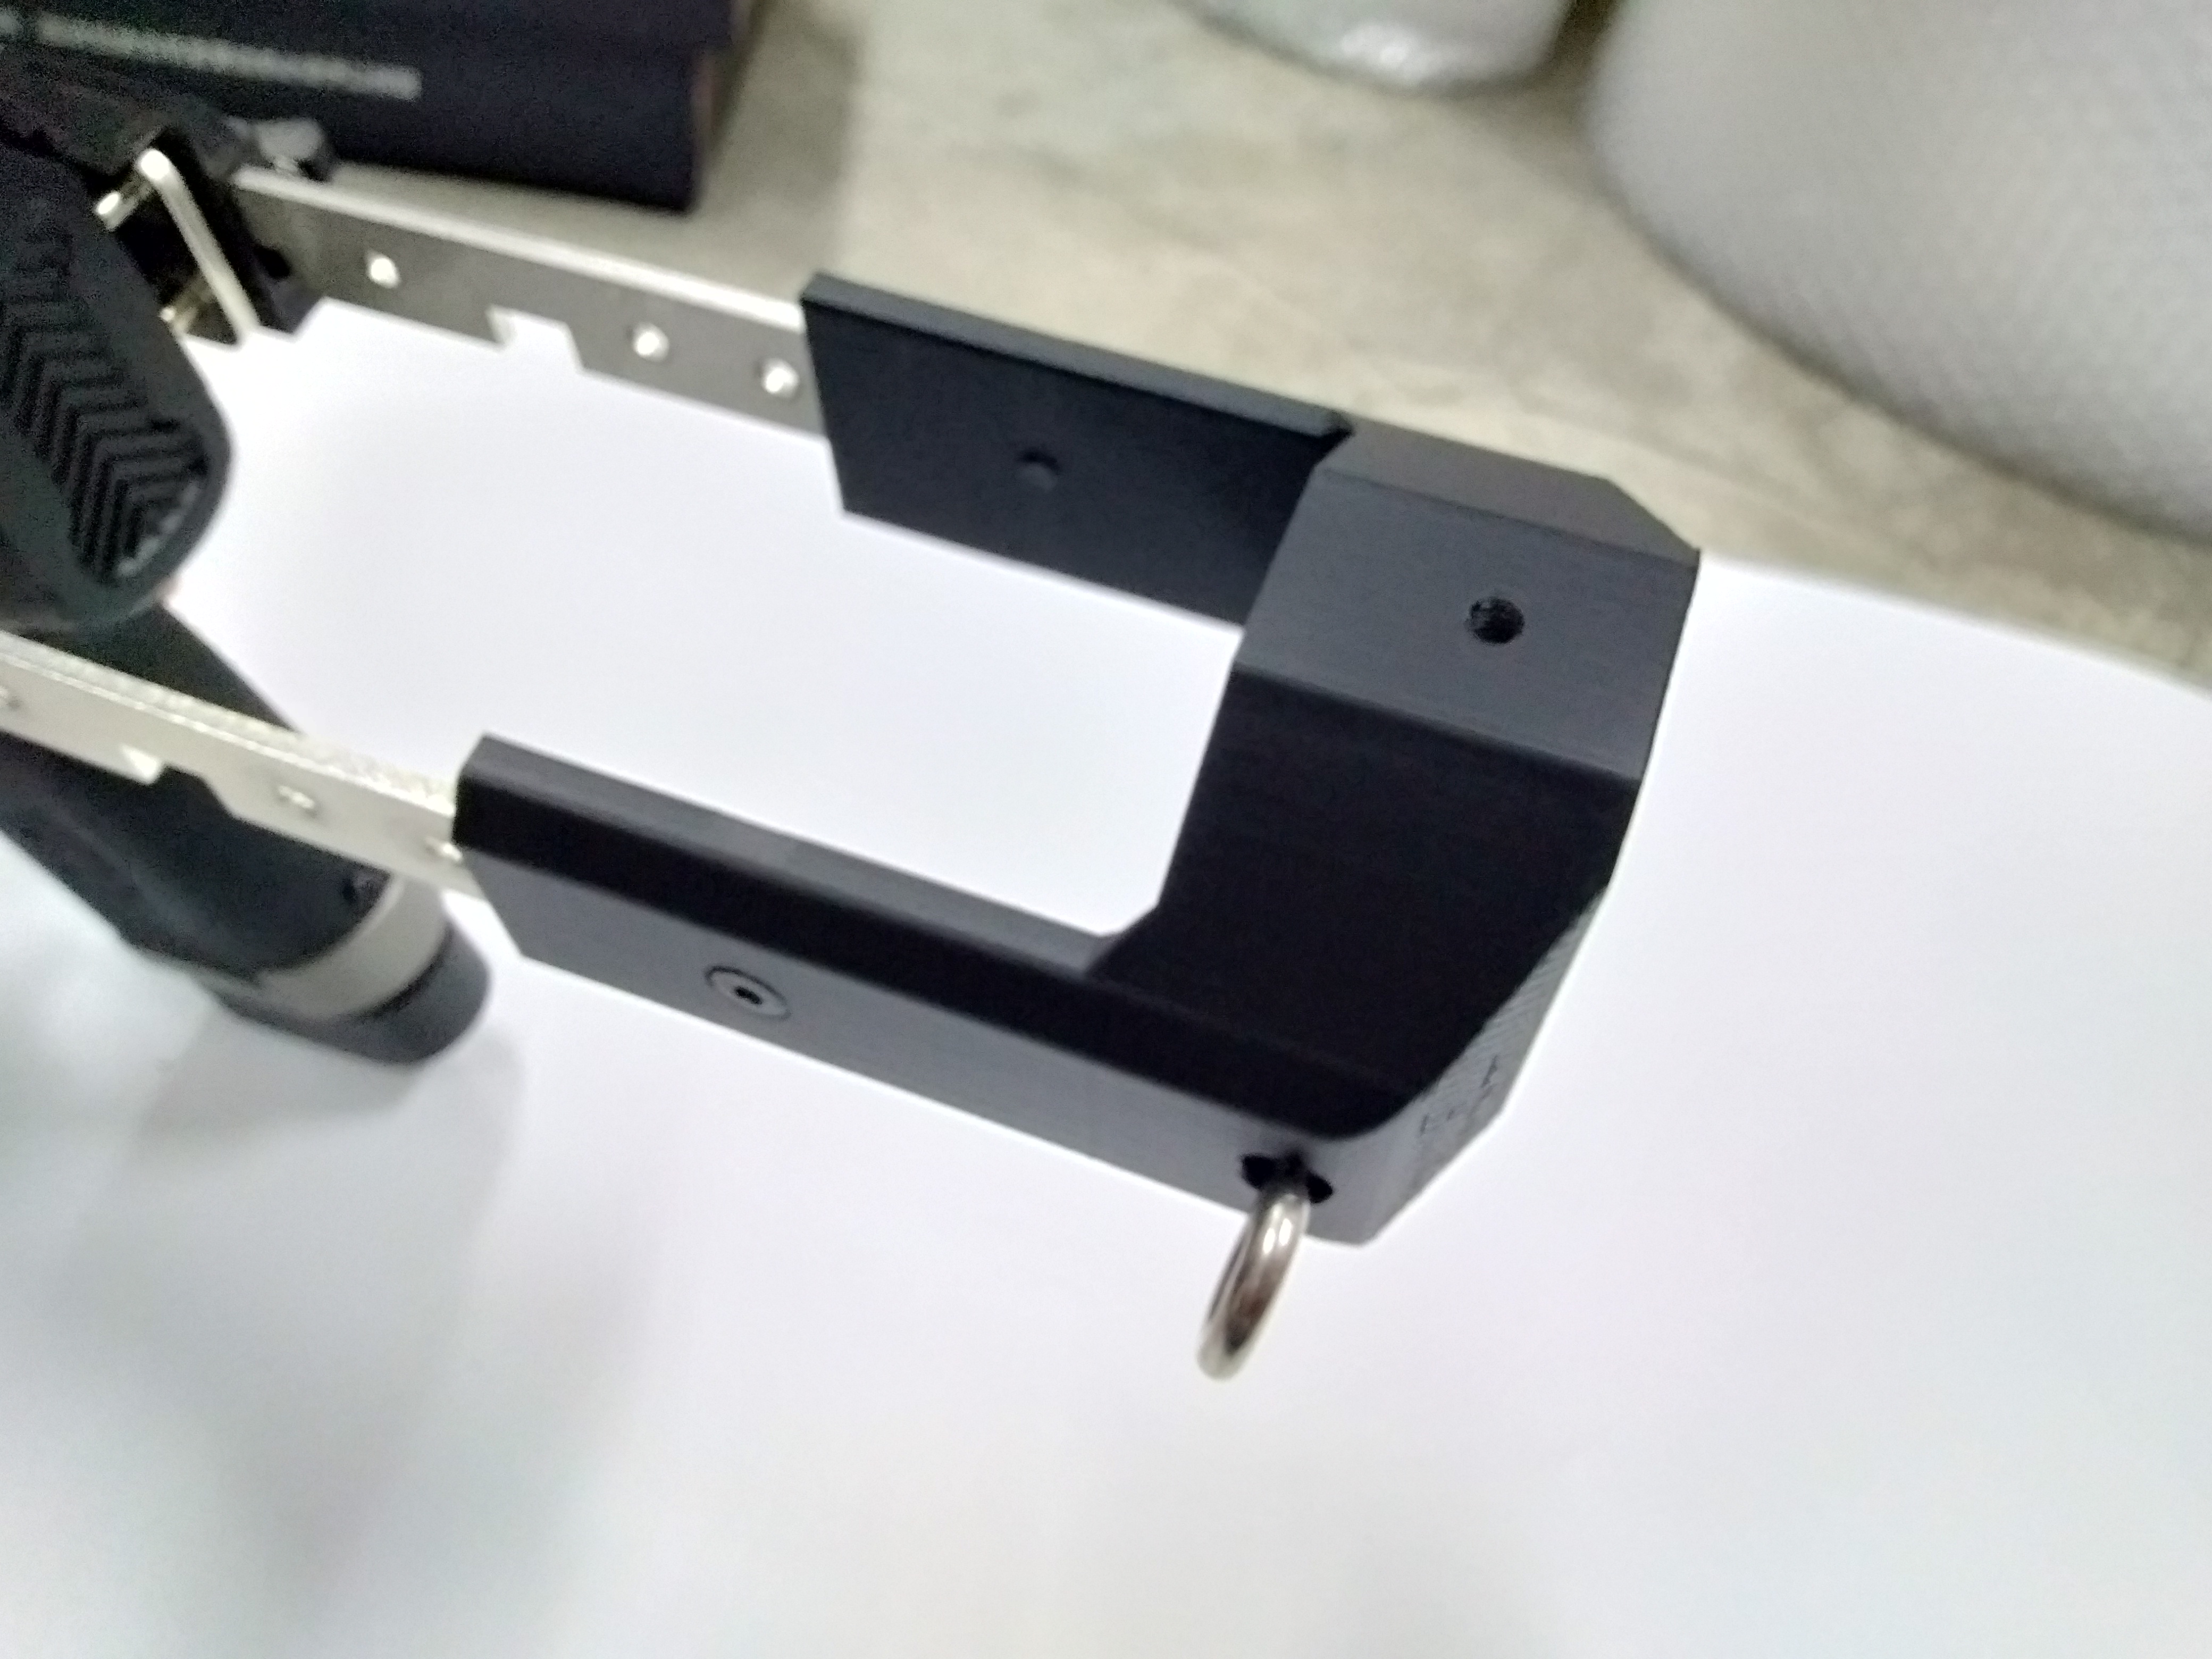 (location of hook point is dependent of the user)
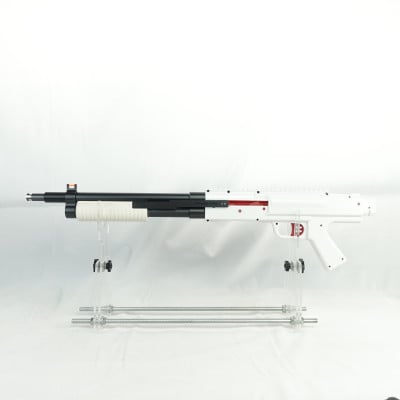
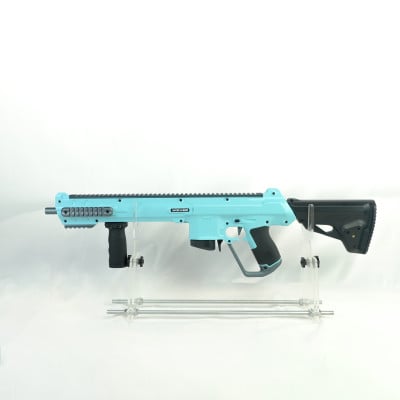
With these steps, you should be able to have a proper carbine kit look just the same as the picture in our listing. Have fun blasting away darts with your carbine-looking S200 Fire Rat unit.
Leave a Comment