

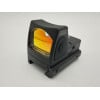


A Basic guide for the EXPS3 Holographic sights
This Holographic sight has 2 features of a normal Red reticle and IR reticle when pressing the NV button. In short summary the night vision mode changes the retile to an IR one which is only visible by using night vision goggles. Beside the mention feature it has which is like other similar Holographic sights, the EXPS3 design is for a much more slick and slim appearance which provides a much cleaner build for your blaster and ease of interacting on the device when using a magnifier. Another fact is that this particular model is much more clearer to see through especially when using a magnifier with it.
How to properly insert the battery for the EXPS3 Holosight

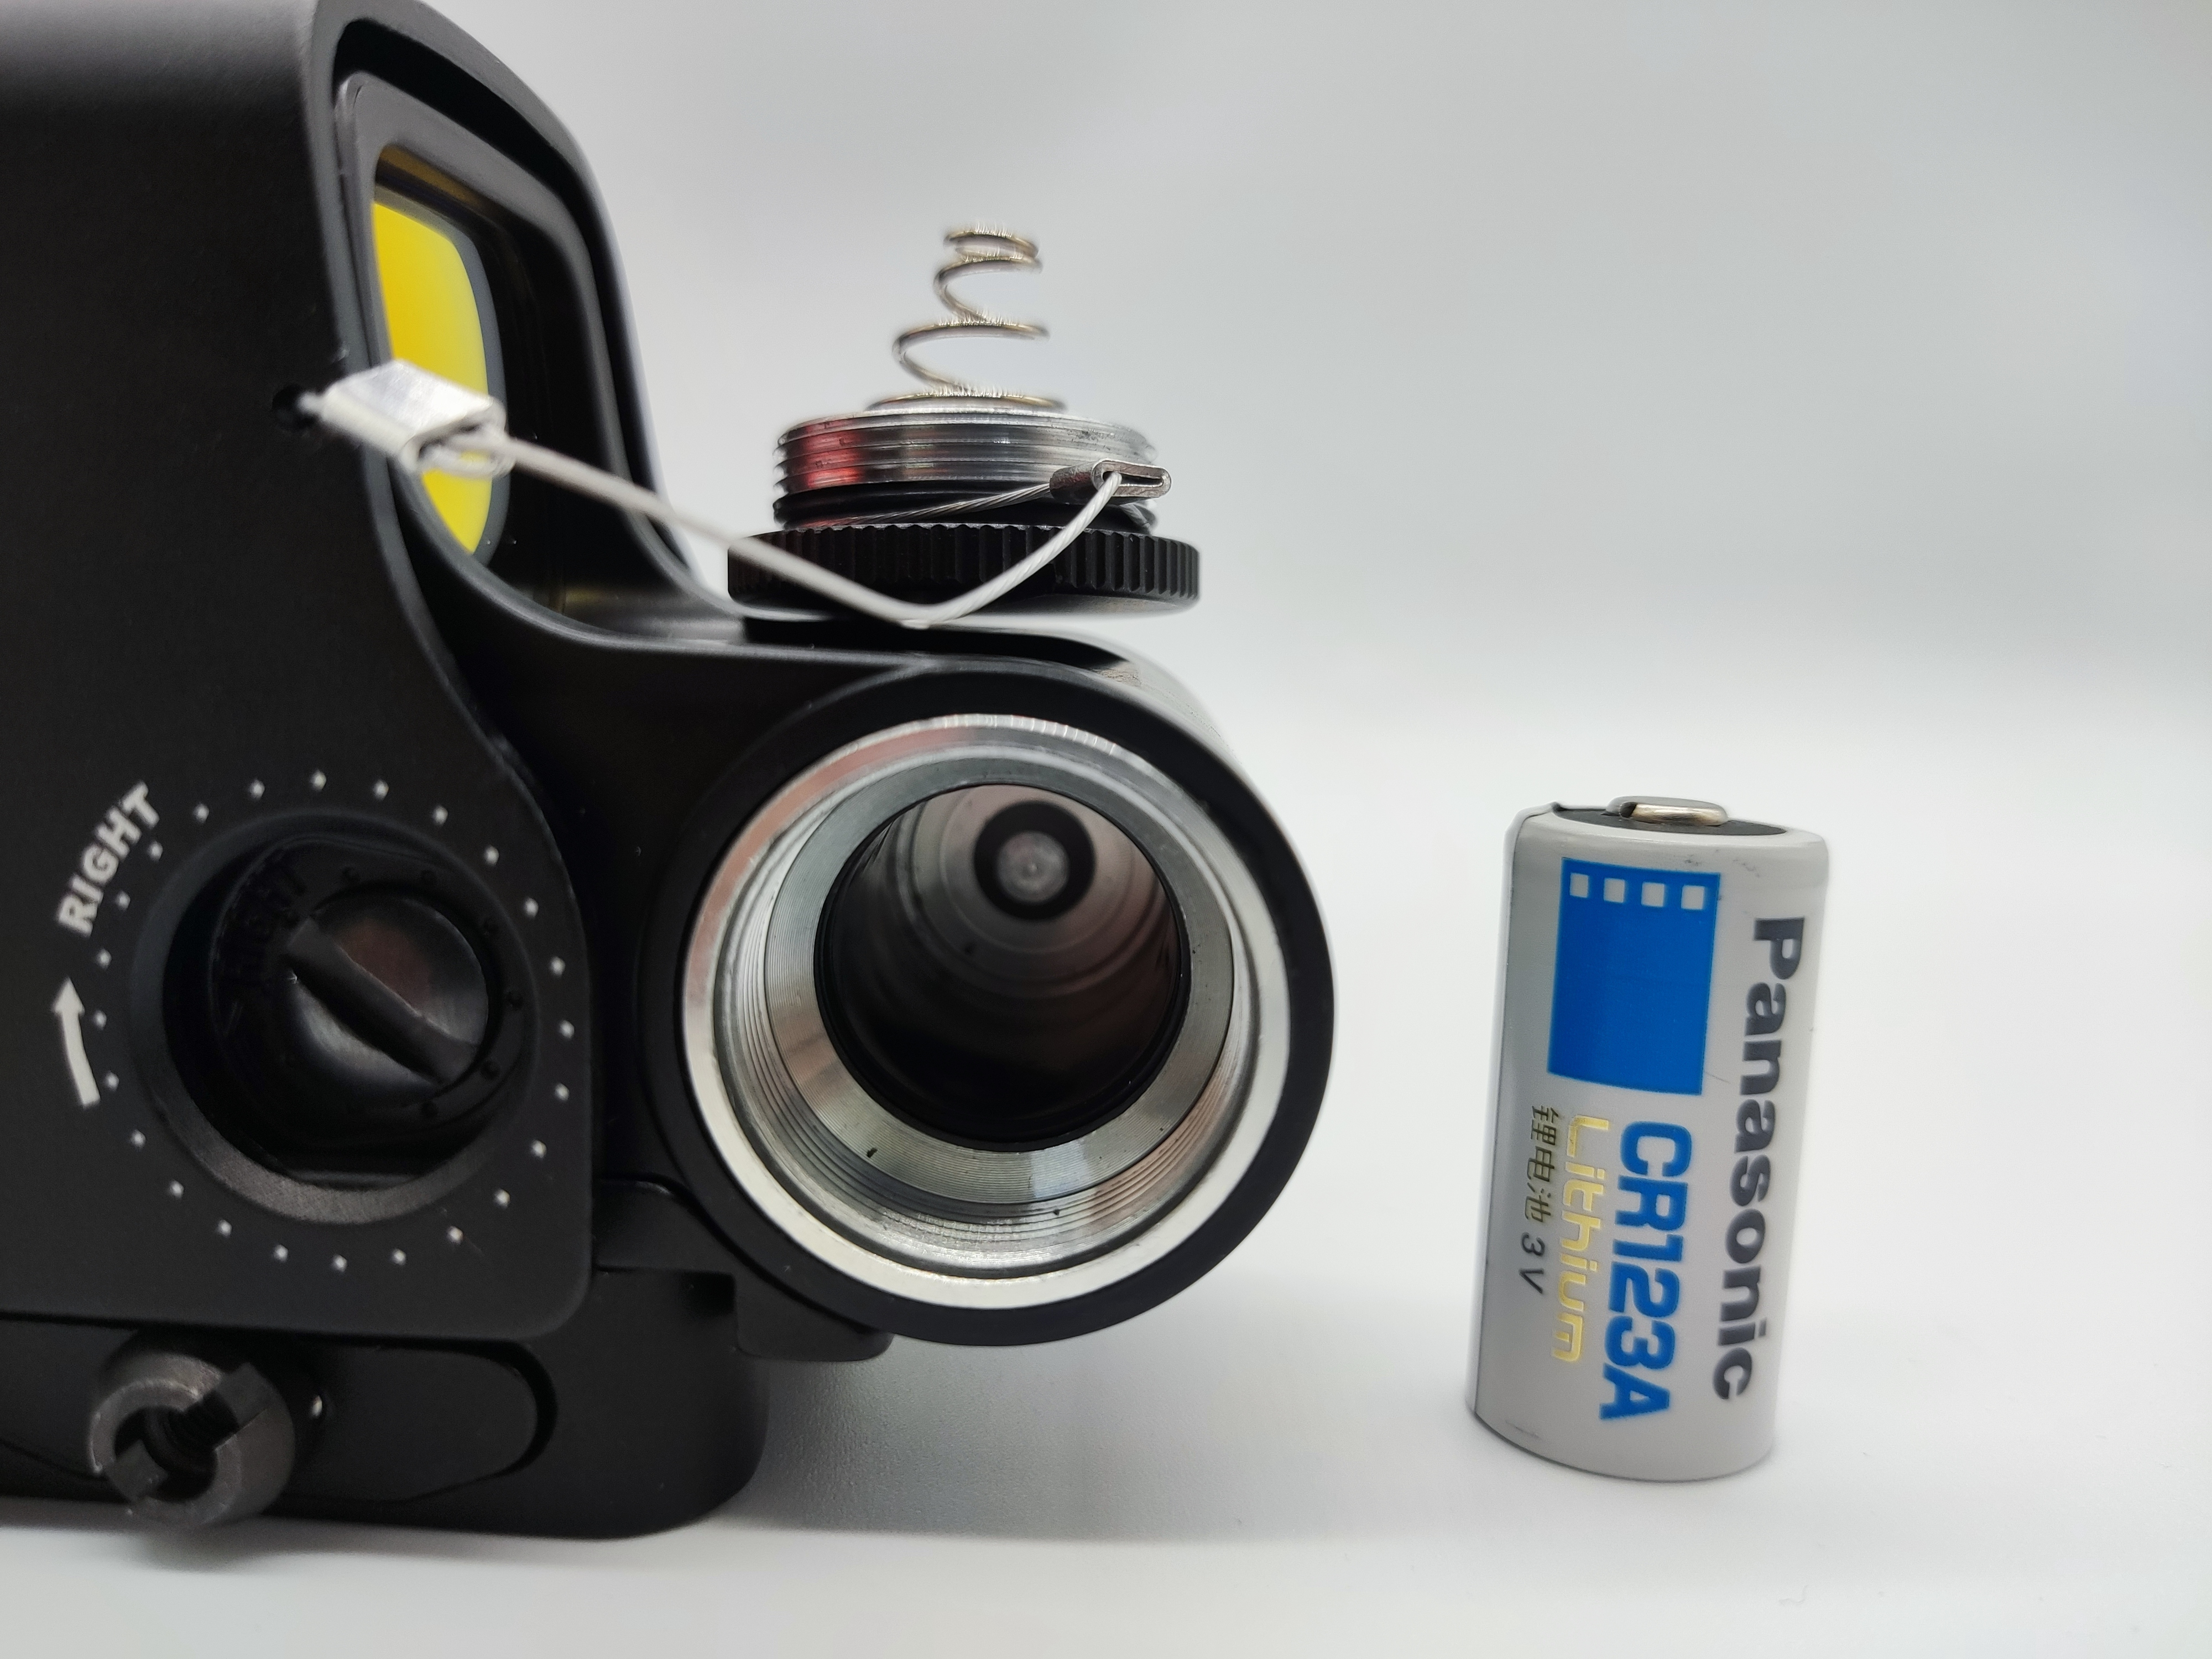
If you have a problem with you EXPS3 not showing the lights follow this steps:
1. Remove battery and reinstall it to make sure the EXPS is turned off.
2. Turn on by pressing the NV once

3. Press the UP button 4-5 Times and observe the holosight.
4. If no sight is illuminated, the unit is currently in NV mode.
5. Press the NV once more to switch to regular mode, press the UP button a few times, the sight should be visible to naked eye now.
6. Always remember to press the UP and DOWN button simultaneously to switch off. If you just press the NV it will switch to NV mode and continue to drain the battery.
For attaching the Holographic sights itself you would need to push the small notch (locking button) near the quick detach lever to unlock it.

Then pull the lever to release the tension for it to grip on the picatinny rails. Finally align it to the rail slot (the gaps on the picatinny rail) with the Cross bolt (the metal rod underneath the optic) and push down the lever for tension.

Note when aligning the holosight you would need to angle it around 10° degrees with the part that slides into the gaps first for a much smoother time installing it.
On the opposite side of the optic is where you can adjust the windage and elevation of the reticle and tighten or loosen the grip for the sight to stay on the rails.

For a much more simple understanding on what is the elevation and windage on a sight, windage can be referred to as the projectile’s horizontal deviation (meaning strafing left or right) trajectory and vise versa for elevation which is the vertical plane (up or down).
Leave a Comment