


Hi fellow modders,
This blog post here is to help you shim your preferred gearbox. Do understand that shimming is based on your own personal feeling and intuition on how smooth you want your gearbox to be.
The purpose of shimming your gear is to ensure the gears inside the gearbox have proper contact with each other and do not wobble inside. This will slightly increase the fps of your blaster. The first step to shim a gearbox is to first open the gearbox, most gearboxes have the same placement for the gears.
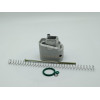
When opening the gearbox, carefully remove the spring at the back so that the spring stopper and the spring itself won't fly out. Most of the spring stoppers have grooves for a flat head screwdrivers.
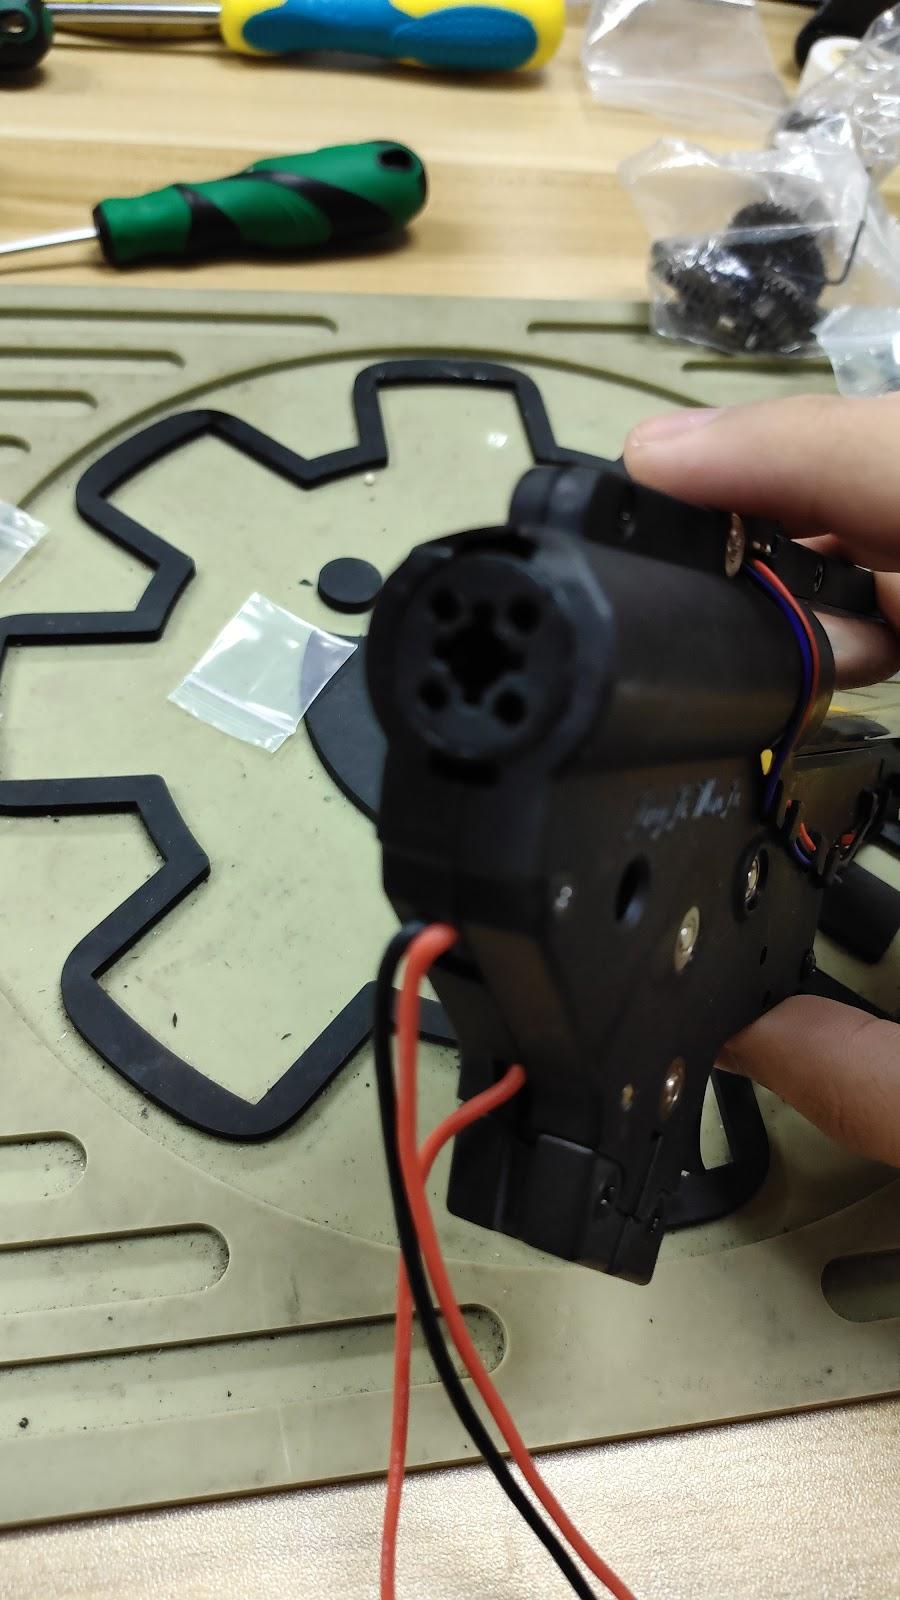
Once you remove the spring stopper and spring, you can remove the one half of the gearbox and start shimming.
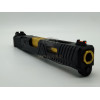
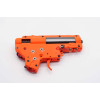
The picture below shows how the internals of your choice of V2 gearbox based on the gears;


Once the shell of the gearbox is removed, you can remove the piston, cylinder, tappet plate and nozzle head. Be careful to not lose the tappet plate spring.


There you can see the 3 gears and anti-reversal latch.


If the bearings are stuck on the gears carefully remove them, it is optional to sand/file the metal contact of the nylon gears so it doesn’t stick again. For standard metal gear sets, it is mandatory to sand the gears because of manufacturing inconsistencies. However, other metal gear sets such as SHS Metal gear sets, you can still shim lightly for better contact between the gears.
How a shimmed gear looks like: on the left is not shimmed & the right is shimmed.

Then take out all but the spur gear and spin the gear itself and see and feel if it doesn’t spin as smoothly add shim at the back of the gear if needed. Repeat this process with the other gear.
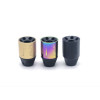
There are different thickness for shims and it depends on the gears if you need to add a lot or a little.
For your metal gears, test the bearings on both sides of the gearbox by pressing it down before placing the screws on the gearbox shell. If it sinks into the gearbox, the gears need to be shimmed. If it doesn’t sink, you can still shim the gears lightly for it to be much more smoother. Make sure not over-shim your gears. This will decrease the durability of the gears and gearbox, regardless of material, over time. If the bearing sinks in, add a bit more shims to make sure the bearings are held in place and won’t sink. Because once you’ve installed the motor and turn it on, gears might not spin in place and the bearing may sink in or misalign the gears which will cause damage for either the gears itself or other internal part.
Once all of the gear is in place without the anti-reversal latch installed, do a test to spin the gears if they have a proper contact with each other. After that put the gearbox shell on and push down on the bearings for each gear on the shell

When the bearings no longer sink, you can now put back the piston, cylinder, nozzle head and the tappet plate back in, then align the piston and the sector gear to have a good point of contact. Then finally test on how smooth the motion when spinning the gears

You can insert the tappet plate spring, the anti-reversal latch and the spring for it and other parts like the trigger if it popped out back into the gearbox.
Finally, screw the shell together and insert the spring back in.
Congratulations, you have shimmed your first gearbox.
If you want to have an easier time holding down the trigger and the anti-reversal latch you would need the "LDT V2 Gearbox Assembly Assist"
Leave a Comment