


Installing a MOSFET with the Big RRR MOSFET
Installation process for BR MOSFET;
Before installing you’ll these tools for installation:
Basic hand tool
Solder material/equipment
Wire cutters
Wire stripperes
You won’t need to use all of these tools to install the BR Mosfet, but having them can prepare you for any problems that may occur.
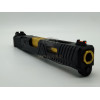
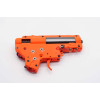
Disassemble the gearbox first and remove all of the components till it is just the wire that is exposed then keep the remaining parts somewhere safe. If it is your first time opening your gearbox it's best to remove the spring at the back first, so the parts inside won’t spring out from the unwanted tension. A great tip is to take a picture of the internal as you go along to know where the parts originally are like.
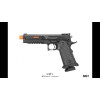
The BR MOSFET comes in complete with all the wiring and connector. The magazine contact spring and battery connector is pre-installed so you won’t need to solder it. It’s literally a drop-in MOSFET, very convenient.
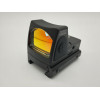
The BR MOSFET is a Electronic Trigger Unit (ETU) type of MOSFET, which is to say what you need to do is replace the entire mechanical Trigger switch with this BR MOSET. It’s a very simple and straightforward process.

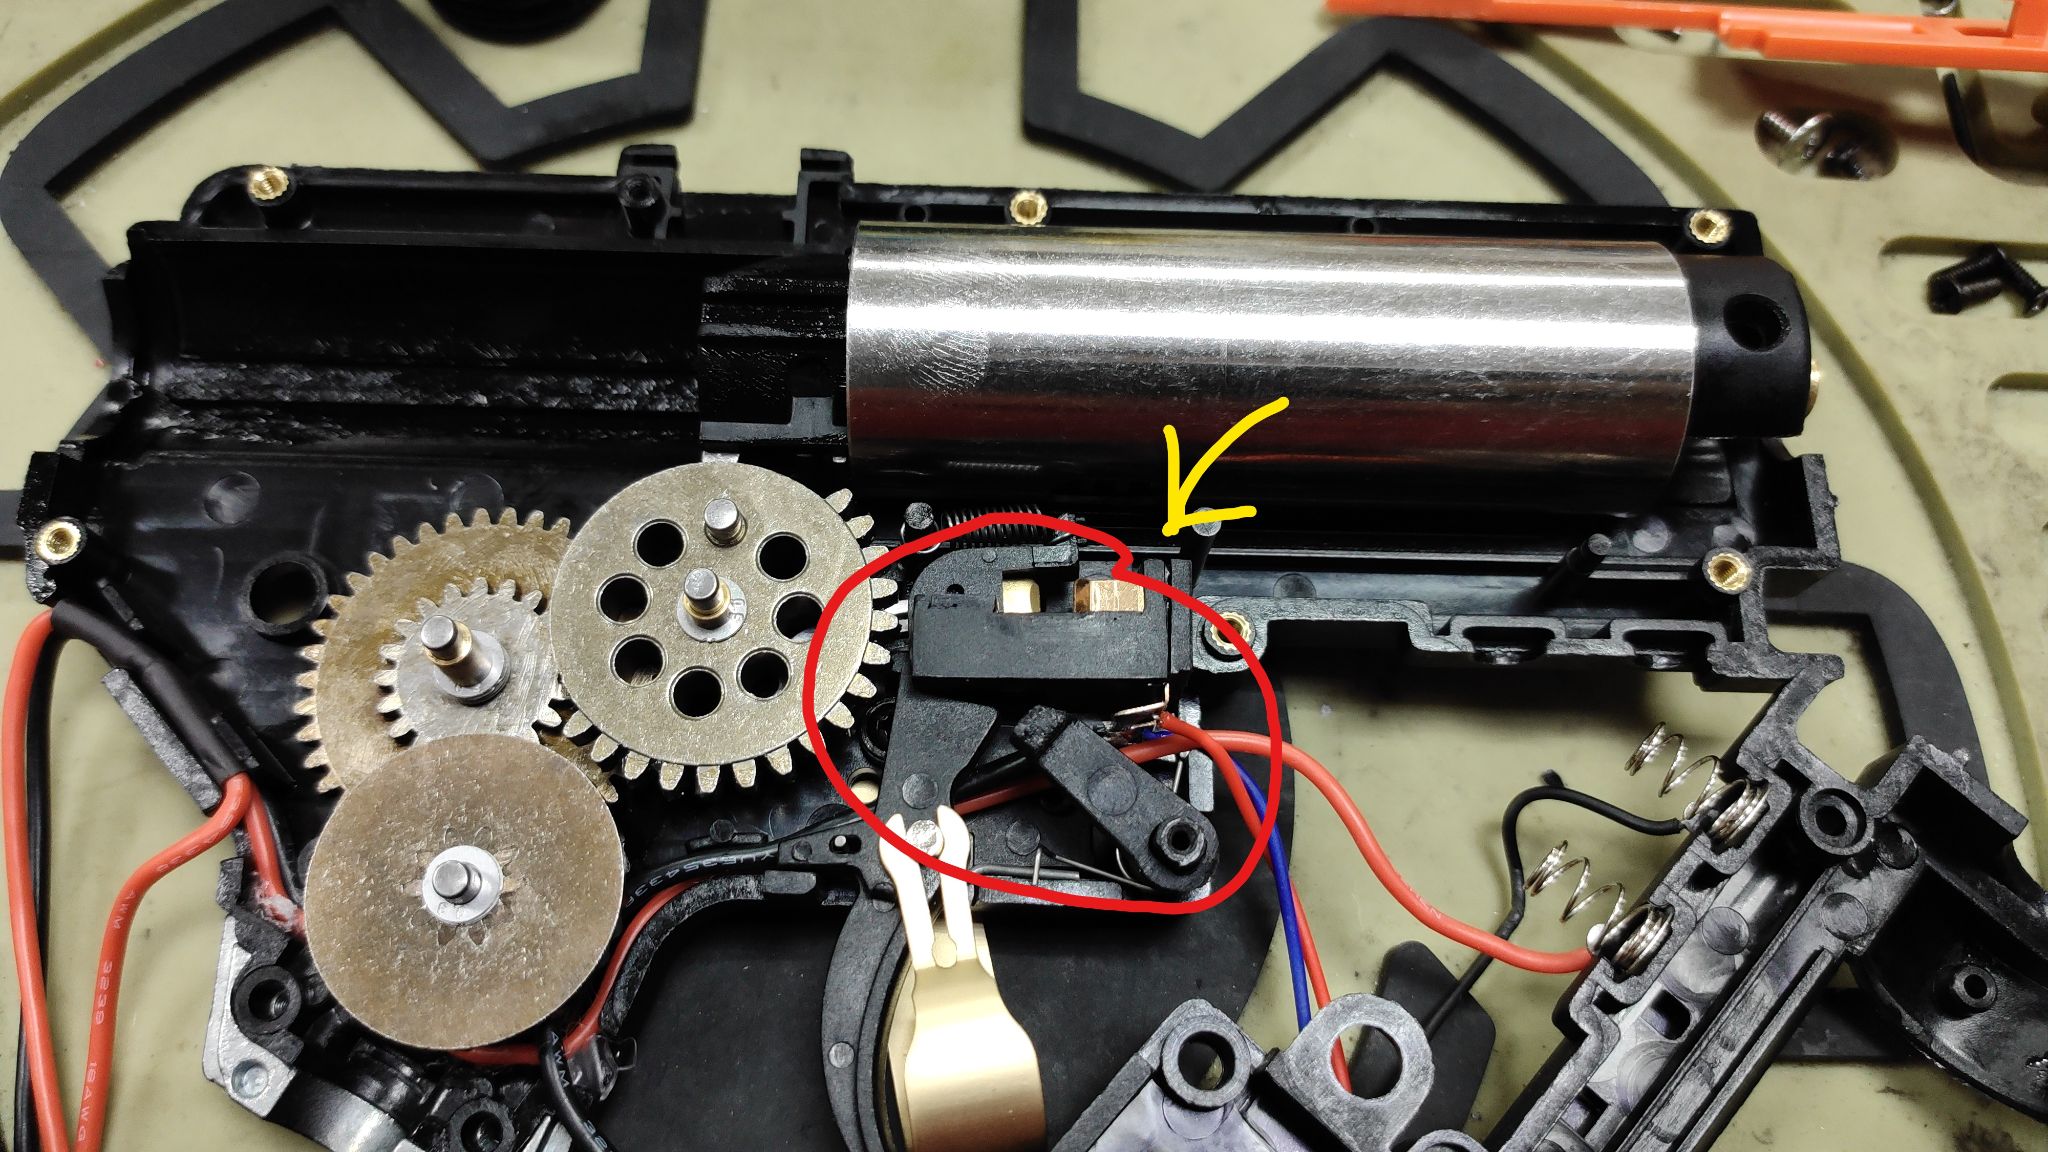
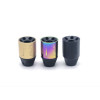
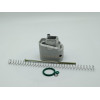
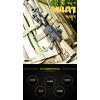
A button shaped small magnet is included with the MOSFET and it is required to be inserted into the sector gear. Please refer to the user manual included for more information.

The purpose of the magnet is for the MOSFET’s Hall sensor to detect the gear position. The Hall sensor is positioned right above the sector gear and when the magnet now installed in the gear passes by it will be picked up by the sensor. So it is utmost important that you do not damage this sensor, and make sure it is free of any debris and grease.


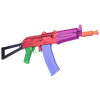
This BR MOSFET is designed to fit the LDT 3.0 and the LDX Series gearbox, they would fit without any modification.
For other types of V2 gearbox, you might need to cut or trim a bit of your gearbox shell in the case that the MOSFET would not fit properly when putting the gearbox shell back together. To know where to cut you would need to place the other half of the gearbox shell over and mark where you need to cut.
Once the MOSFET is inside it's just a matter of putting back together all of the components into the gearbox. There are parts that are no longer needed such as the Cut Off Lever and Trigger Switch, because the MOSFET has already occupied the space for it and replaced the role for those parts.

Going by the order which component to be put back together, you put the need to put the spur gear first then the sector gear but because the mosfet is underneath you’ll need to put it in an angle and not hitting the sensor, the position of the sector gear’s teeth should be before contacting the piston teeth and the magnet right below the sensor. Then the anti-reversal latch, which will be somewhat a hassle to put back in because of the spring tension if you have the “LDT V2 Gearbox Assembly Assist” this will give tension to hold it down making it easier for you to finally insert the bevel gear. Last but not least, the Trigger itself..
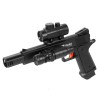
Once the Gearbox is put together, it is recommended that you install only the grip and the motor to test if everything is working as intended. Test and make sure the MOSFET is working, programmable with various functions. Check the user manual for more information.
After making sure everything is in order, you can now reassemble your blaster and the work is done! You can now enjoy the super snappy trigger response and feel the difference!
Here is a pdf link for the MOSFET manual .
To know about more details of other parts of the gearbox you can visit our blog “What to upgrade for your water gel gearbox”.
Leave a Comment